Routes, Checkpoints, Authorities, and Corridors
This section groups the route-governance areas that operators and administrators use to define and maintain movement structure.
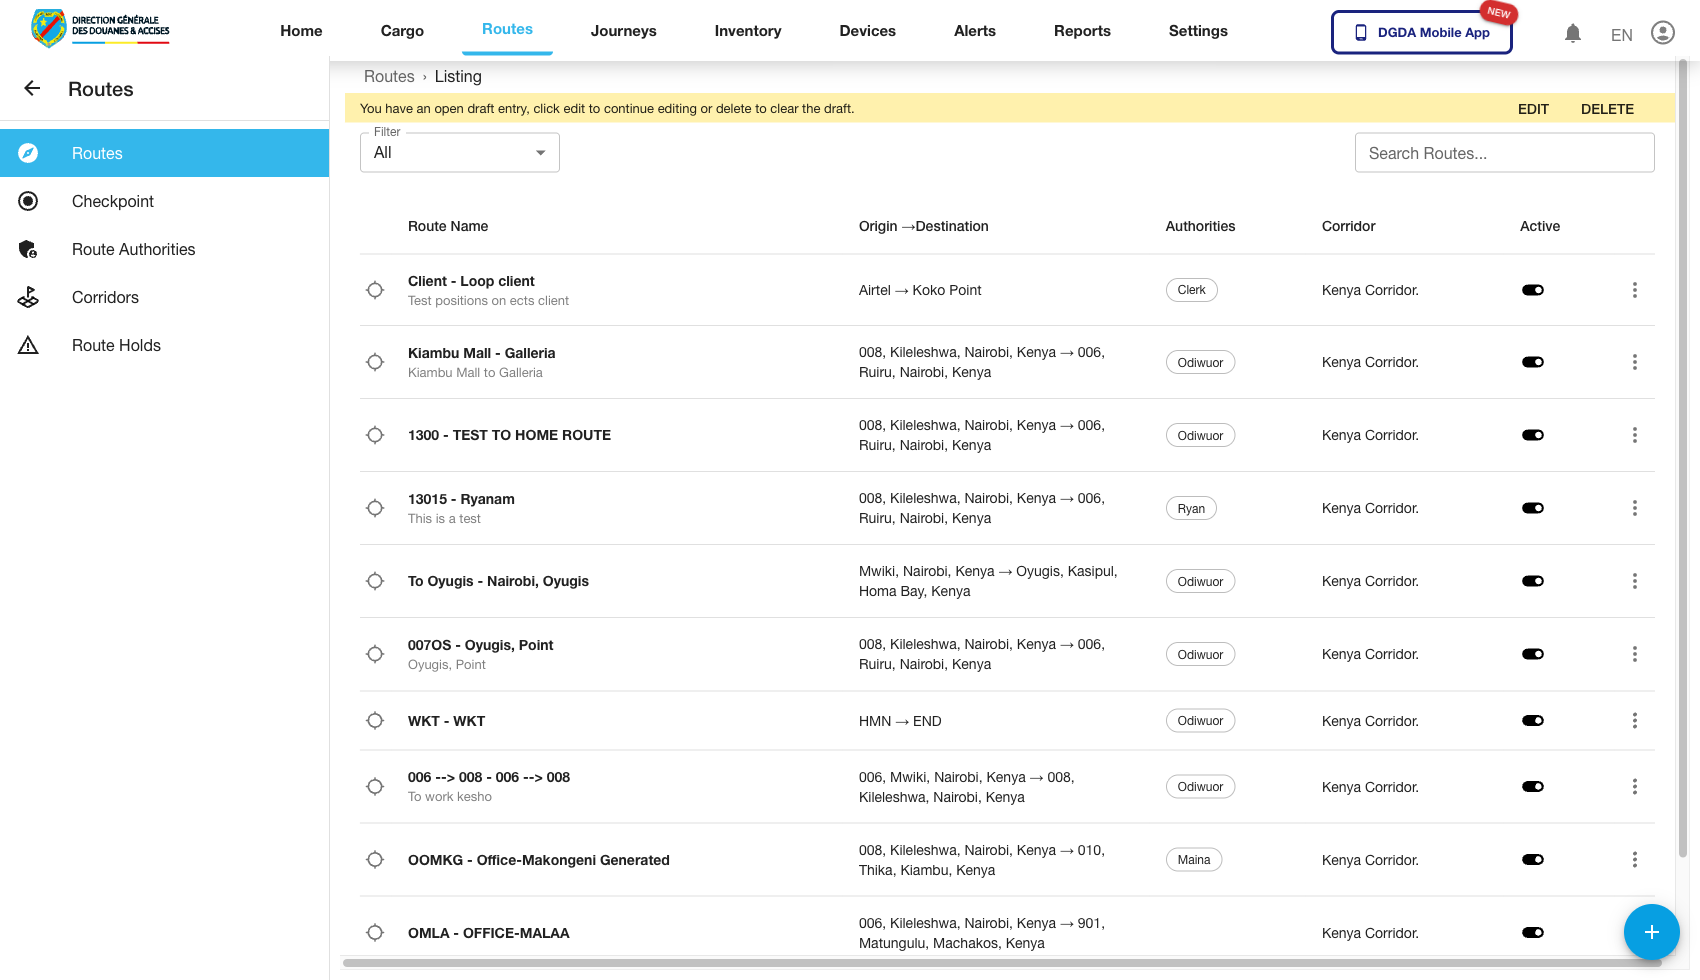
1. Review the Route List
Purpose: Start from the master route register.
Route / context: /routes/list
Steps:
- Open Routes from the top navigation.
- Select Route List.
- Review available route entries.
- Search or filter to find the route you need.
Expected result: The route list loads with route identifiers and available actions.
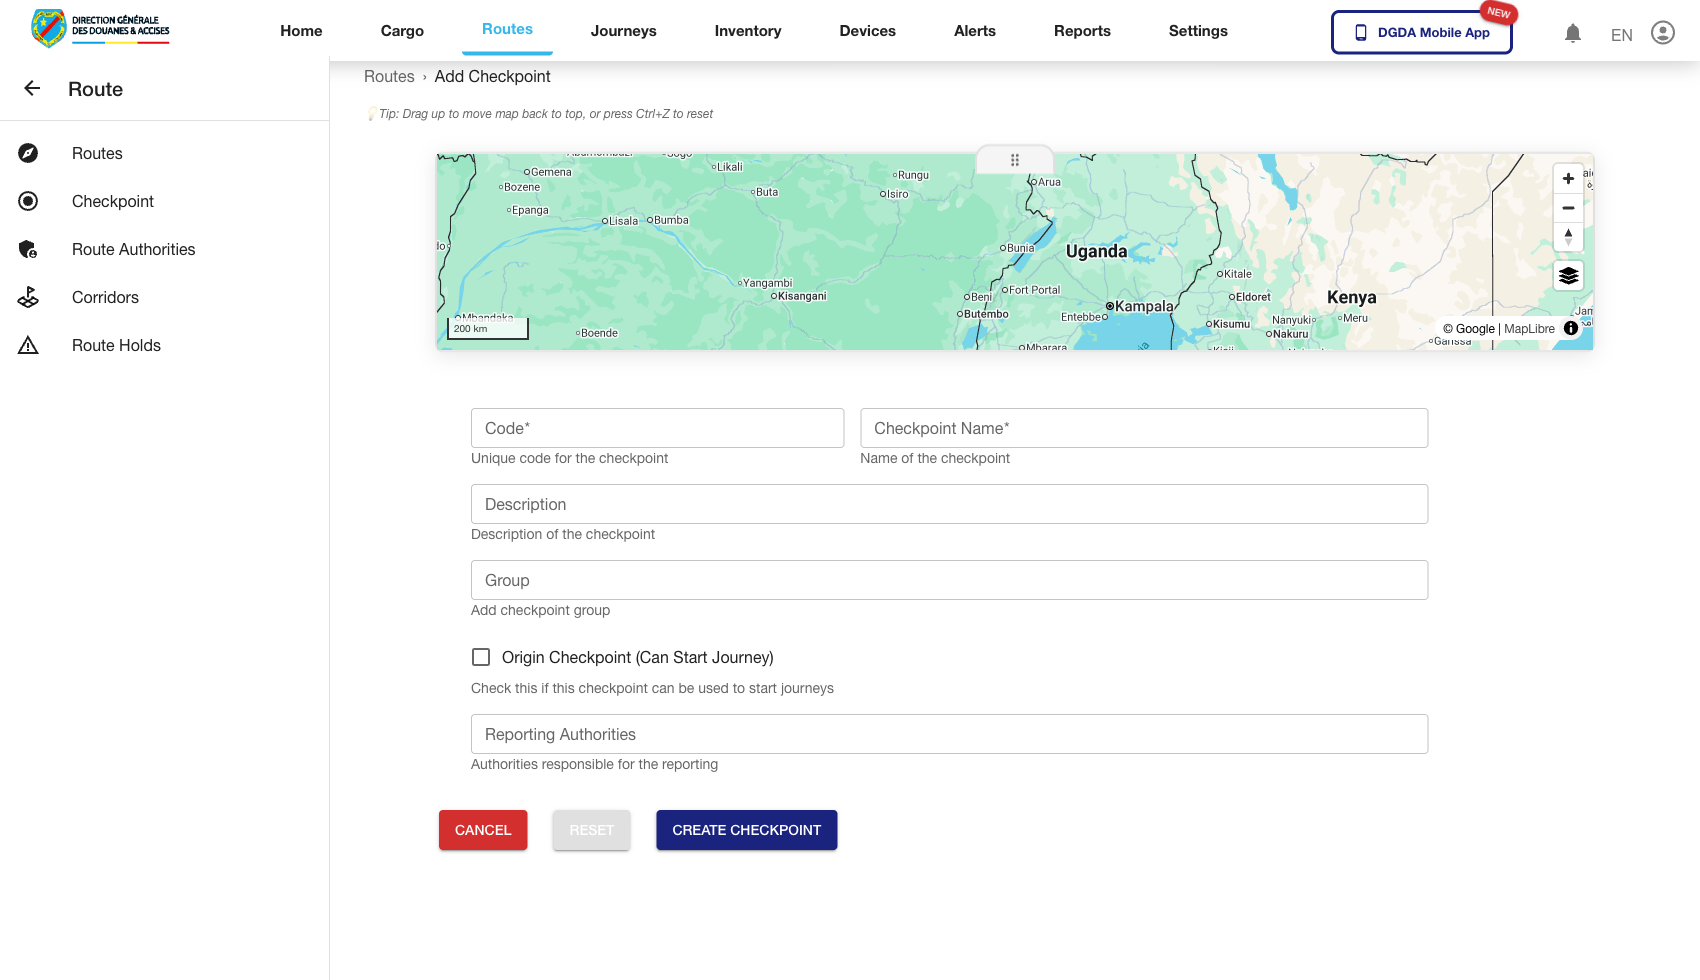
2. Add a New Route
Purpose: Create a route definition for future journey or planning use.
Route / context: /routes/add-route
Steps:
- Open Add Route in the Routes module.
- Complete the required route metadata.
- Select related checkpoints or supporting fields where available.
- Save the route.
- Confirm it appears in the route inventory after creation.
Expected result: A new route is created successfully and becomes available for downstream use.
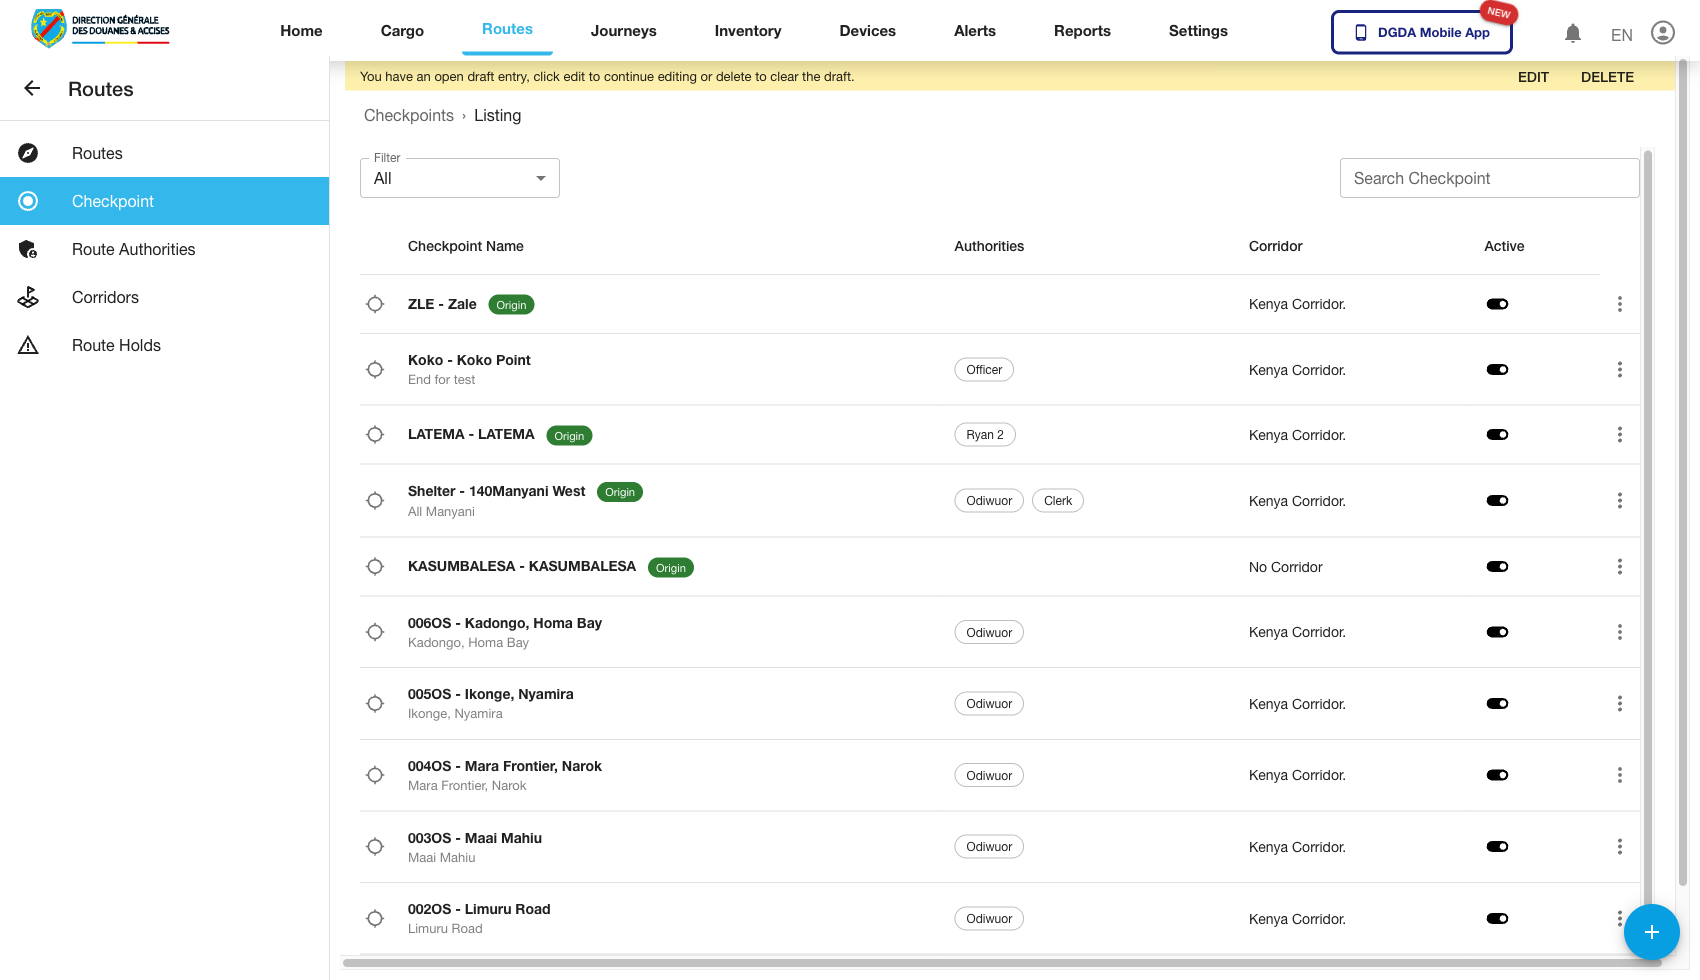
3. Review Checkpoints
Purpose: Validate the checkpoint set used in route definitions.
Route / context: /routes/checkpoints
Steps:
- Stay in the Routes module.
- Open Checkpoints.
- Review the current checkpoint list.
- Confirm the expected checkpoint metadata is present.
Expected result: The checkpoint list loads normally and can be used as a route-planning reference.
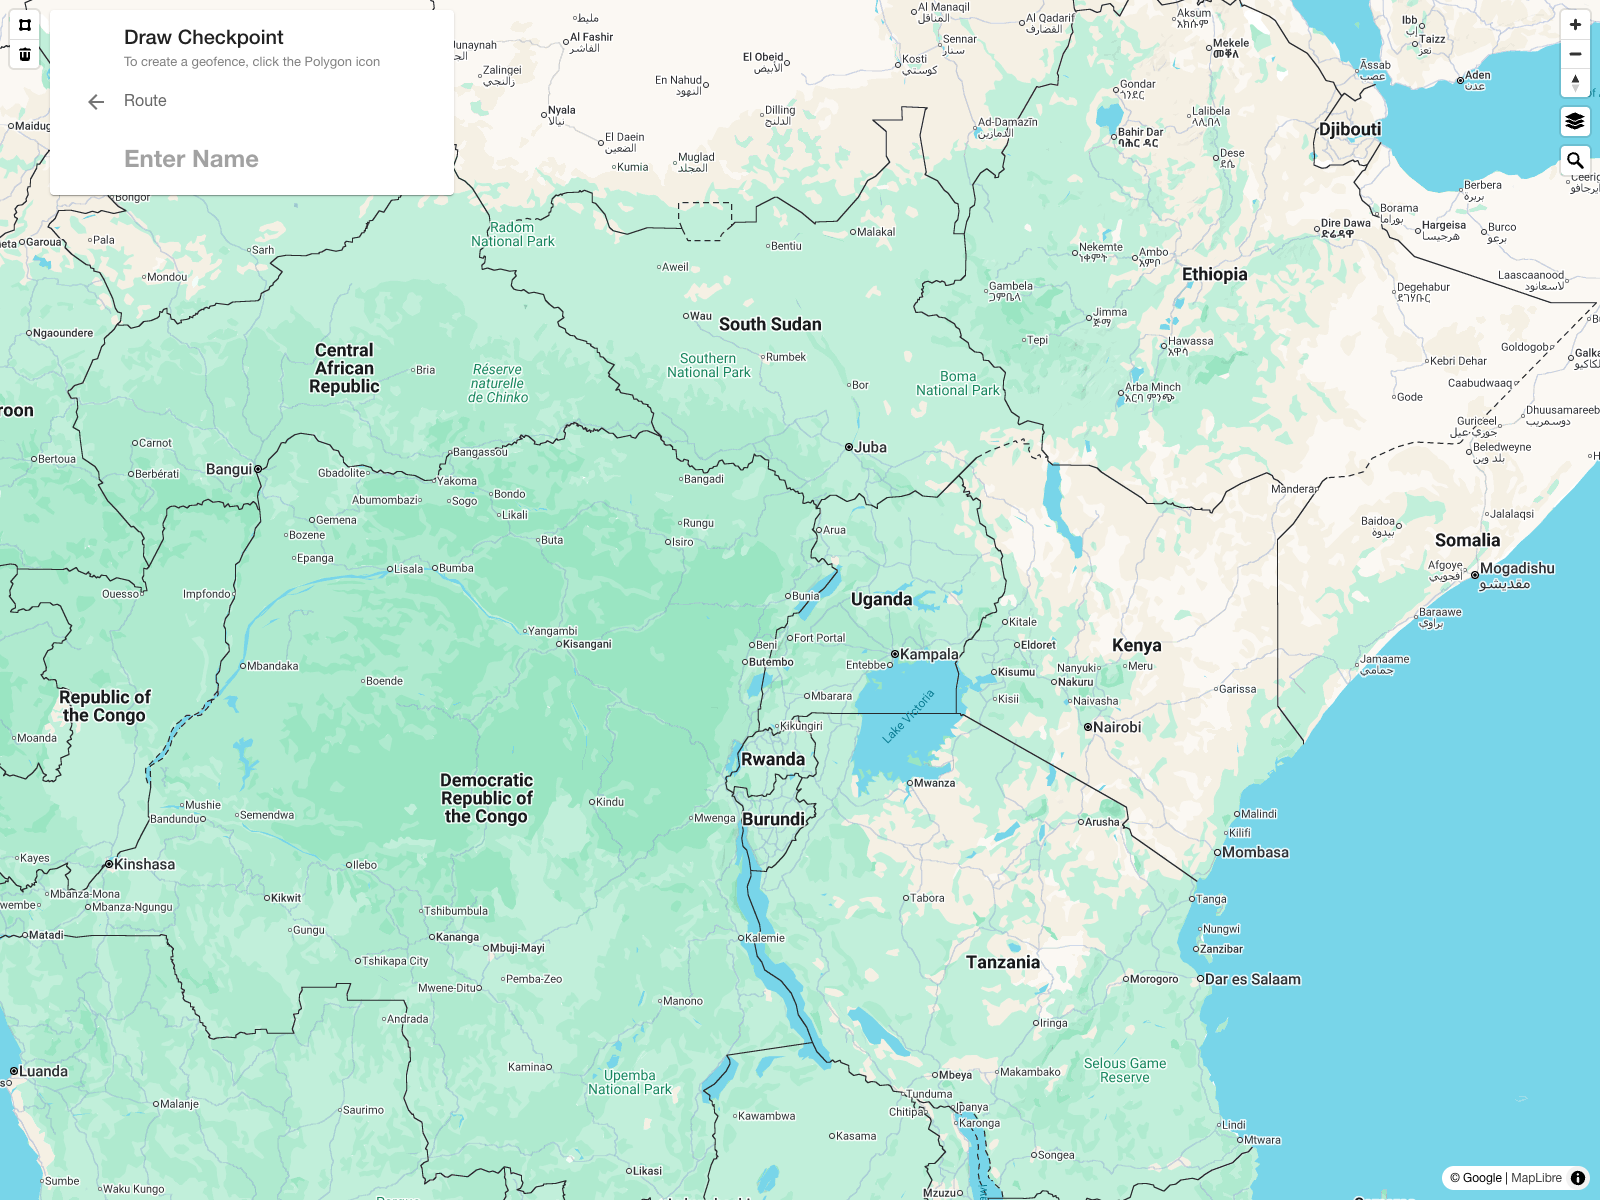
4. Start a New Checkpoint Drawing
Purpose: Open the checkpoint creation canvas and confirm the geofence drawing workflow is available.
Route / context: /routes/checkpoints -> /checkpoints
Steps:
- Open Checkpoints.
- Click the add action for a new checkpoint.
- Wait for the drawing canvas to load.
- Review the instructions shown at the top of the map before drawing the geofence.
Expected result: The portal opens the checkpoint drawing screen with the map canvas and checkpoint naming panel.
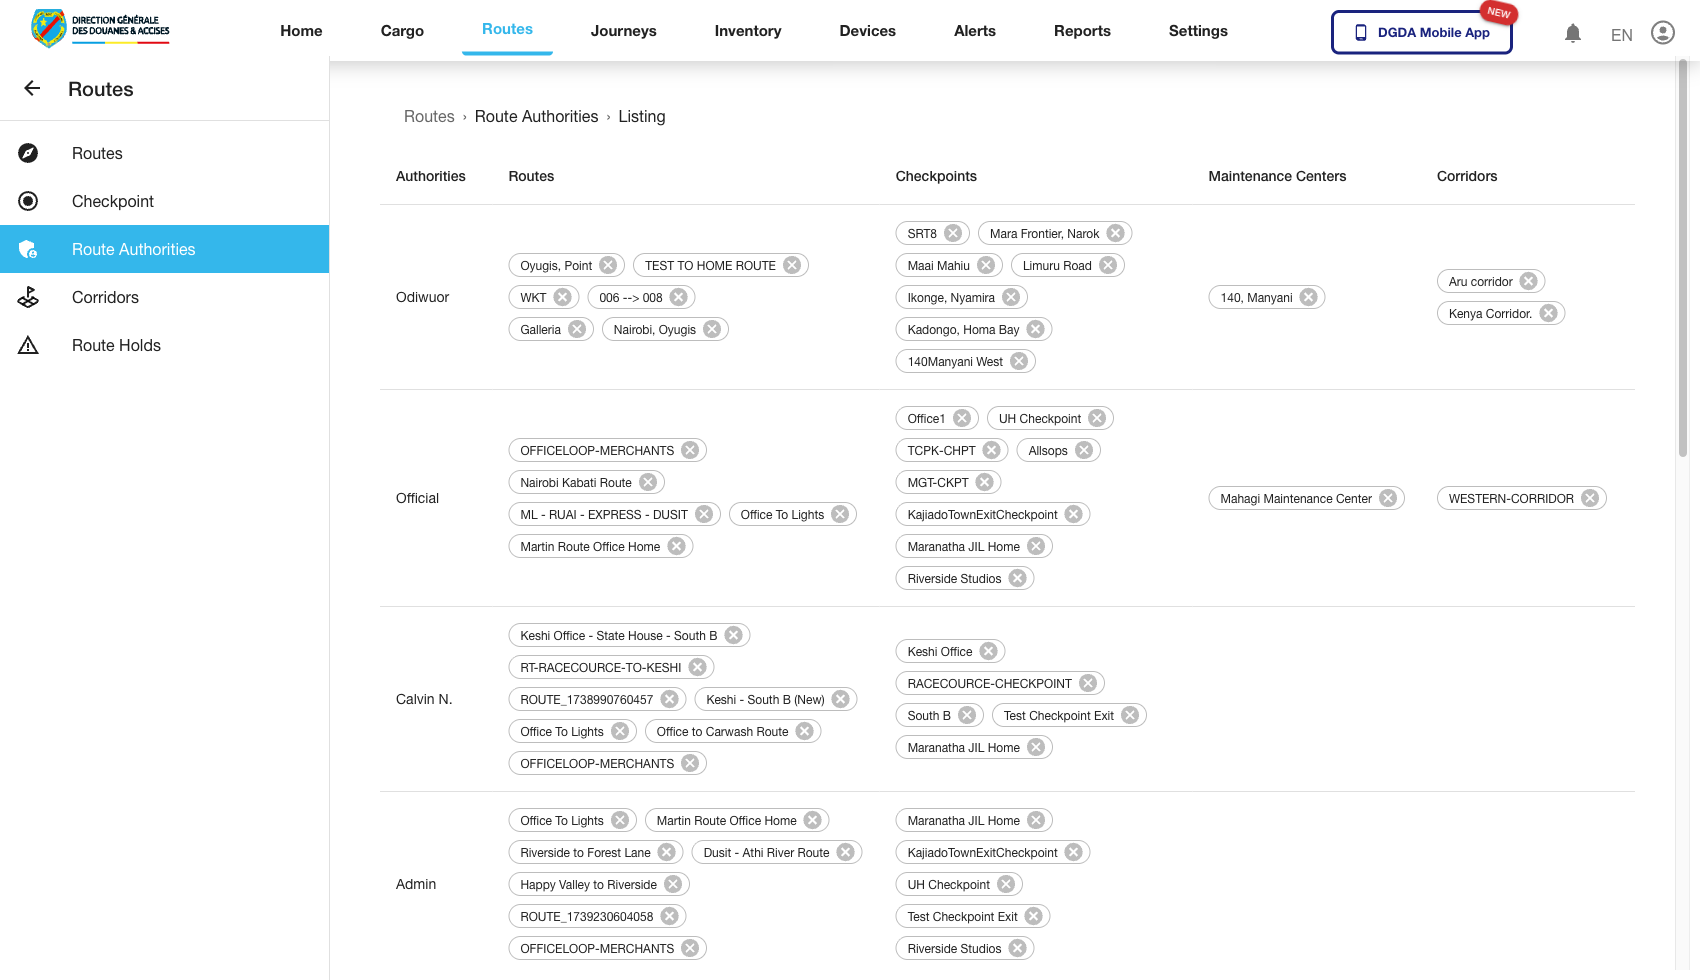
5. Review Route Authorities
Purpose: Confirm route authority data used to govern route access or control context.
Route / context: /routes/route-authorities
Steps:
- Open Route Authorities from the left navigation.
- Review the list of configured authorities.
- Confirm entries render without error and the expected authority data is present.
Expected result: The route authority registry is visible and usable for administrative review.
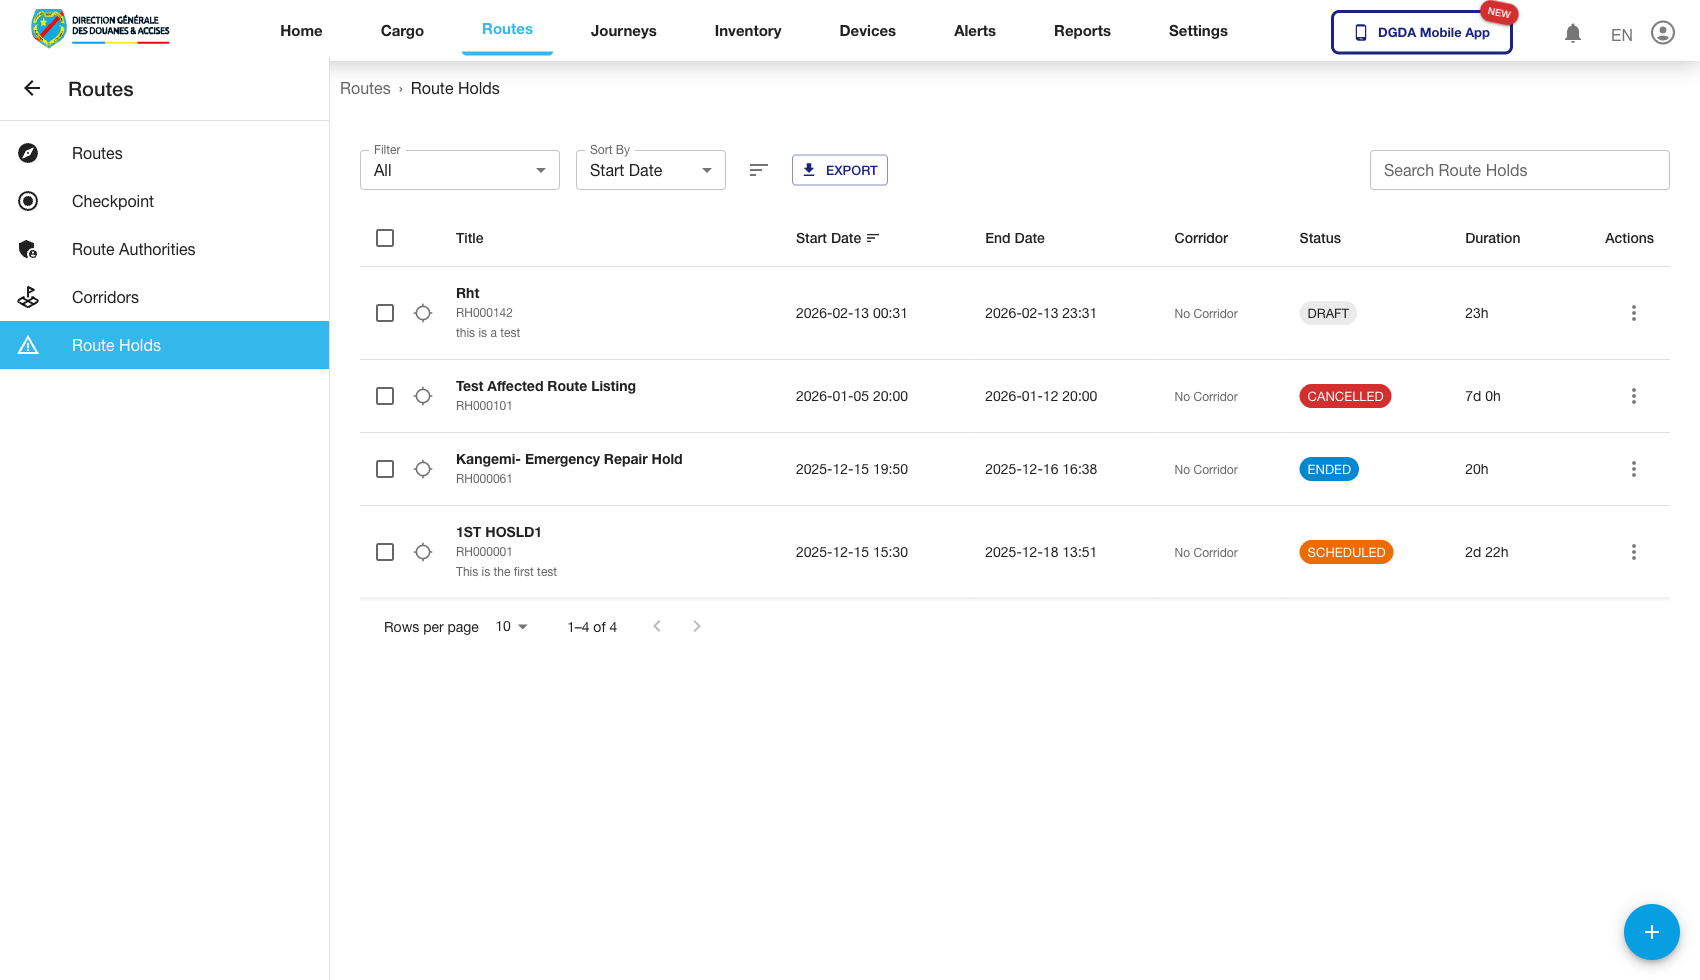
6. Review Route Holds
Purpose: Inspect hold-related configuration affecting route operations.
Route / context: /routes/route-holds
Steps:
- Open Route Holds.
- Review current hold entries.
- Use the list to confirm whether operational constraints or hold records exist for the relevant route.
Expected result: Hold entries are visible and can be used as part of operational route governance.
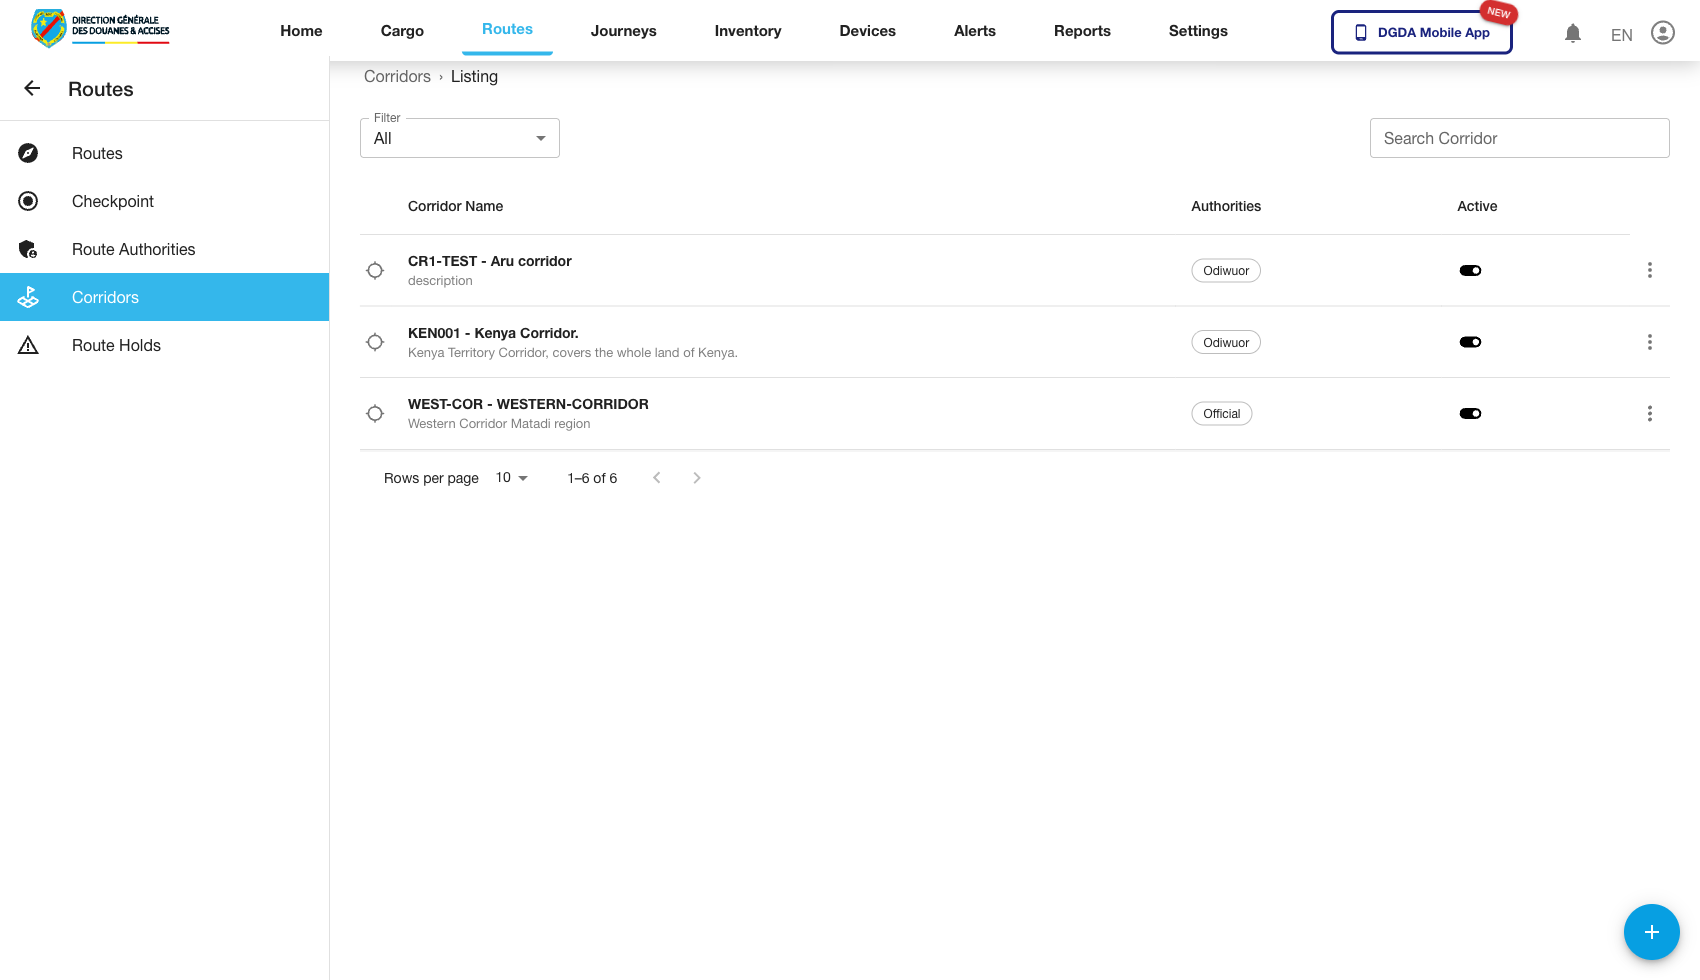
7. Review Corridors
Purpose: Confirm corridor configuration used as part of route planning and governance.
Route / context: /routes/corridors
Steps:
- Open Corridors from the Routes module.
- Review the current corridor records.
- Confirm the expected identifiers and configuration fields are visible.
Expected result: The corridor list loads successfully and is available for planning or administrative review.
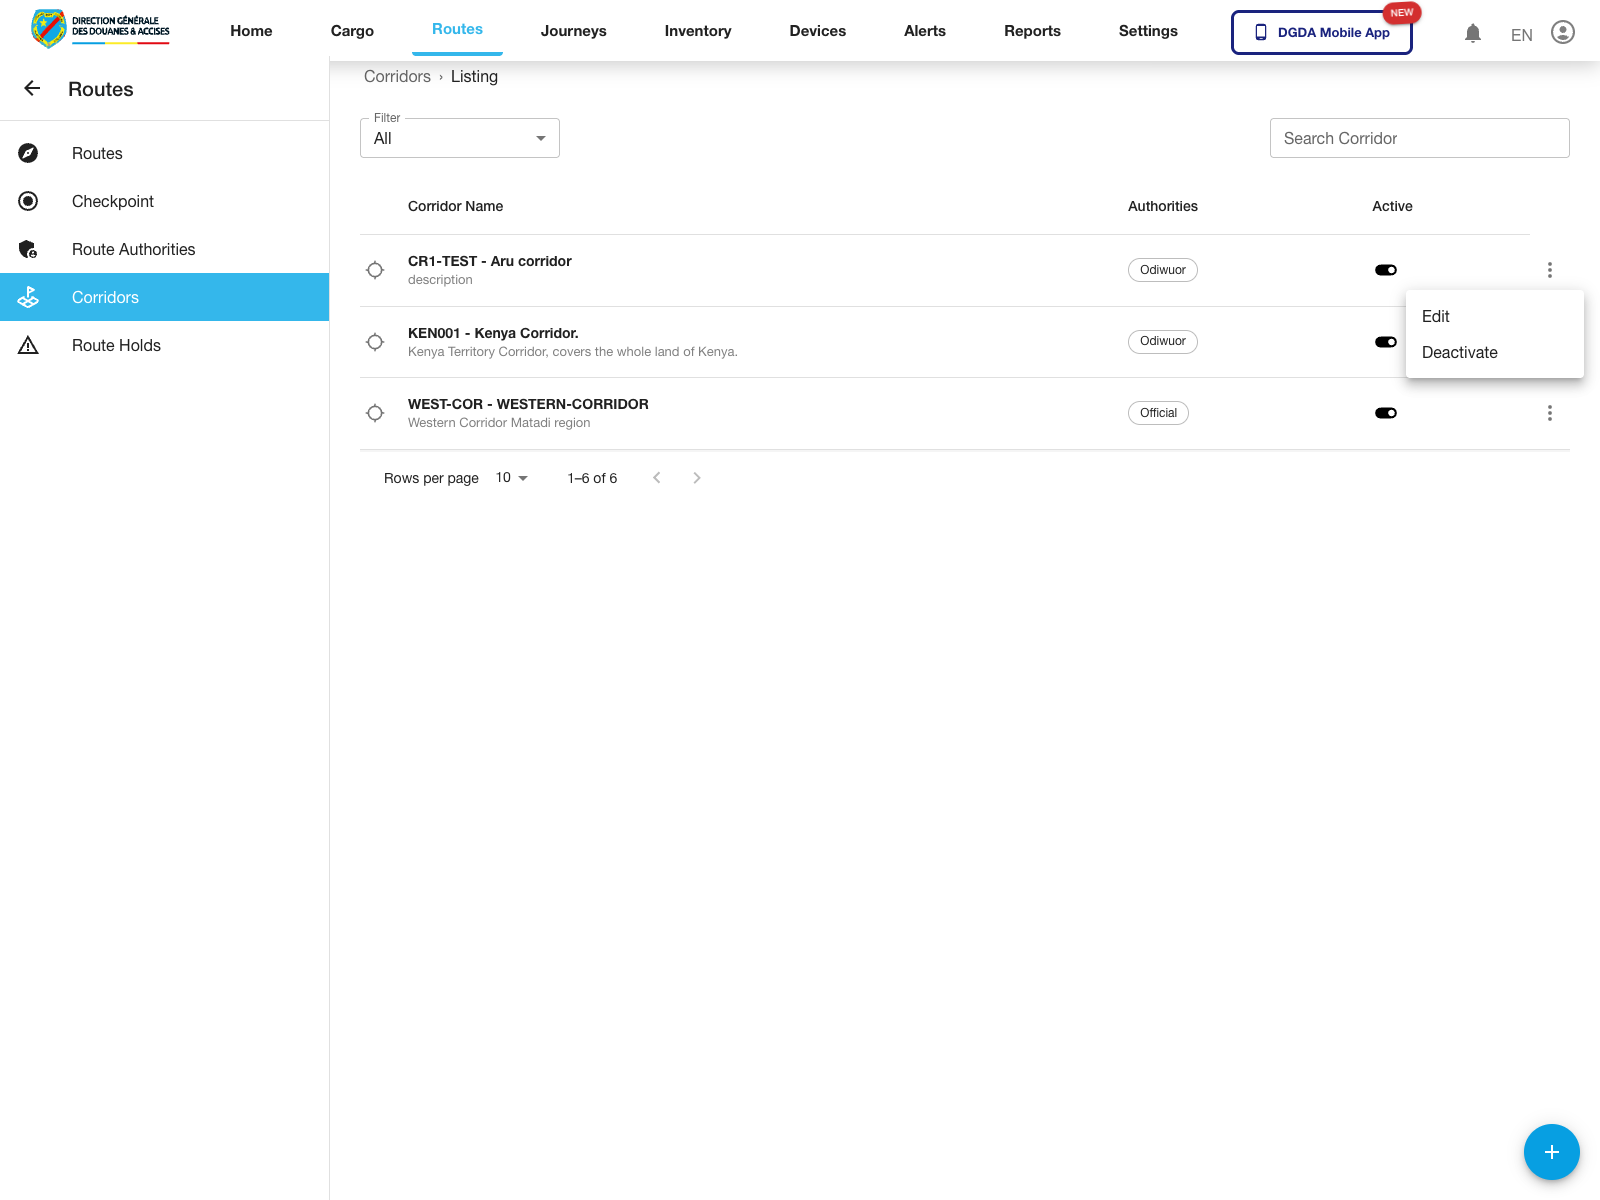
8. Open Corridor Actions
Purpose: Review the row-level actions available for a corridor record.
Route / context: /routes/corridors
Steps:
- Open Corridors.
- Locate the corridor row you want to manage.
- Click the action menu for that row.
- Review the options that appear before taking the next step.
Expected result: The corridor action menu opens for the selected record.
Observed live actions: Edit and Deactivate.
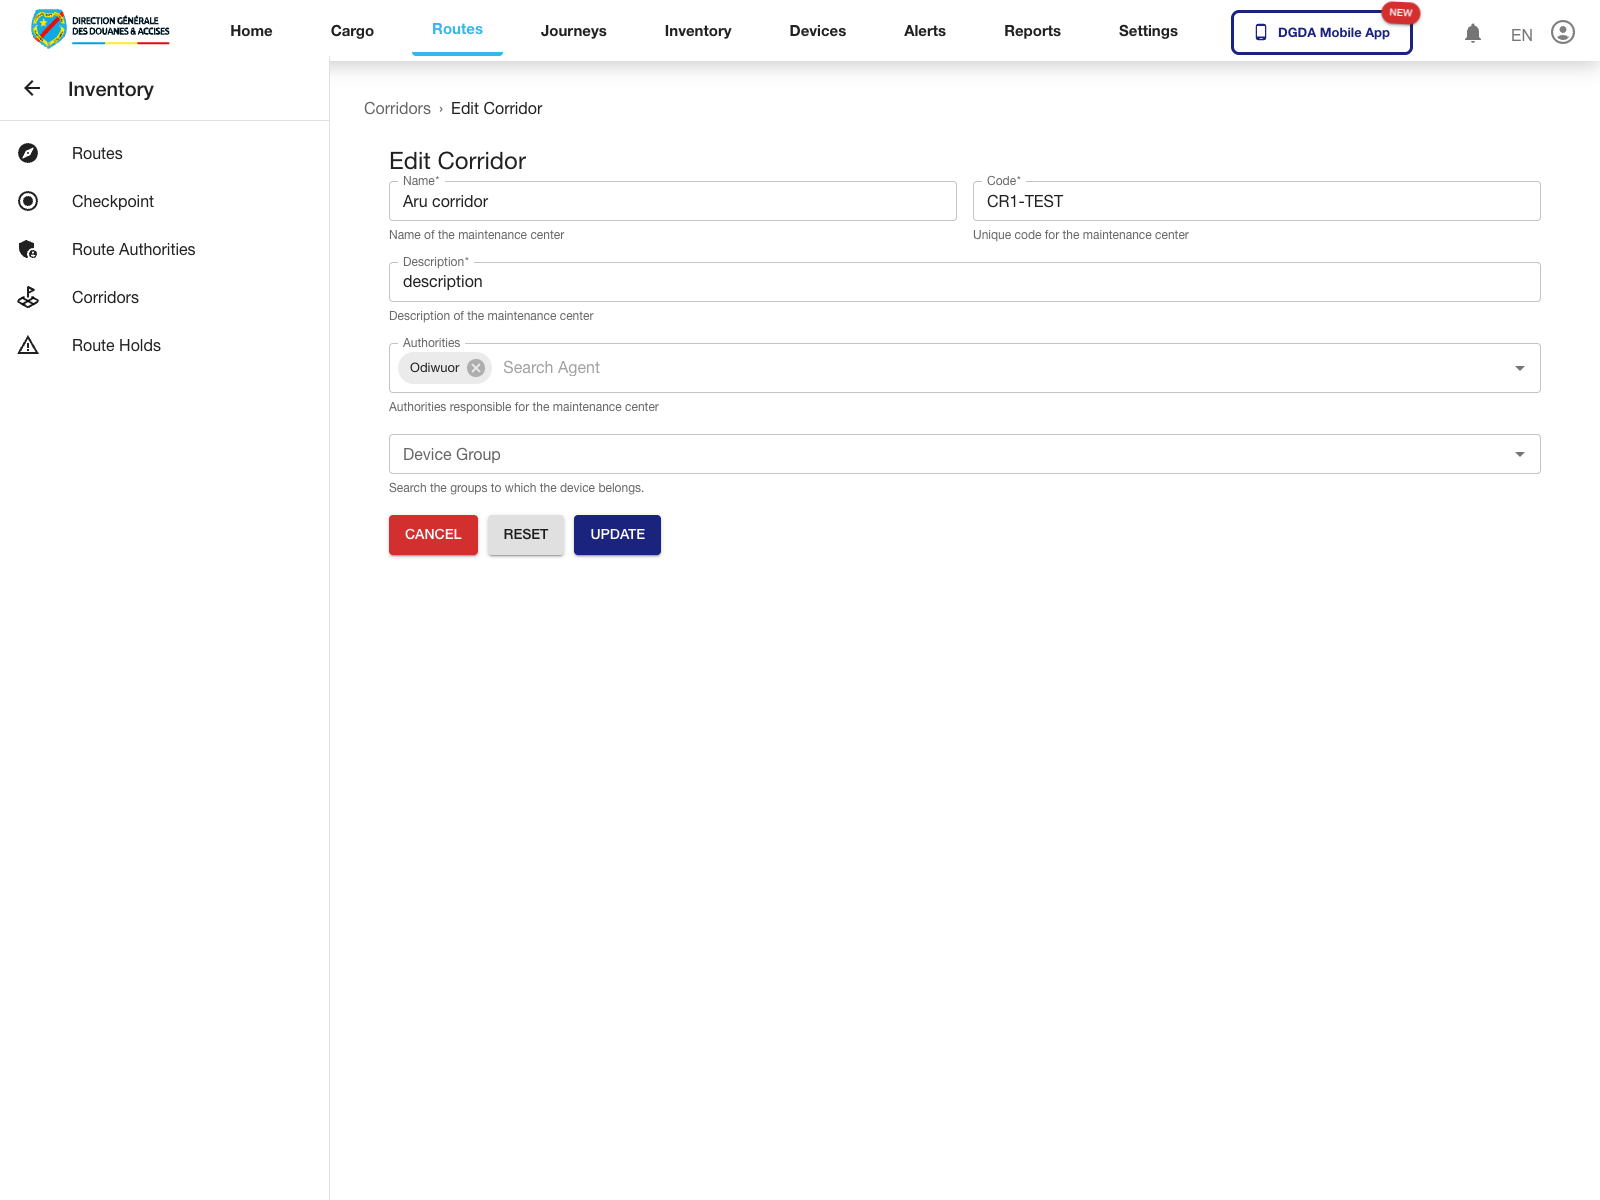
9. Edit a Corridor
Purpose: Update an existing corridor record.
Route / context: /routes/corridors -> /routes/edit-corridor/:id
Steps:
- Open the corridor action menu.
- Select Edit.
- Review the corridor fields on the edit screen.
- Update the corridor configuration and use Update when ready.
Expected result: The portal opens the corridor edit form for the selected corridor.
Observed live fields: Name, Code, Description, Authorities, and Device Group.
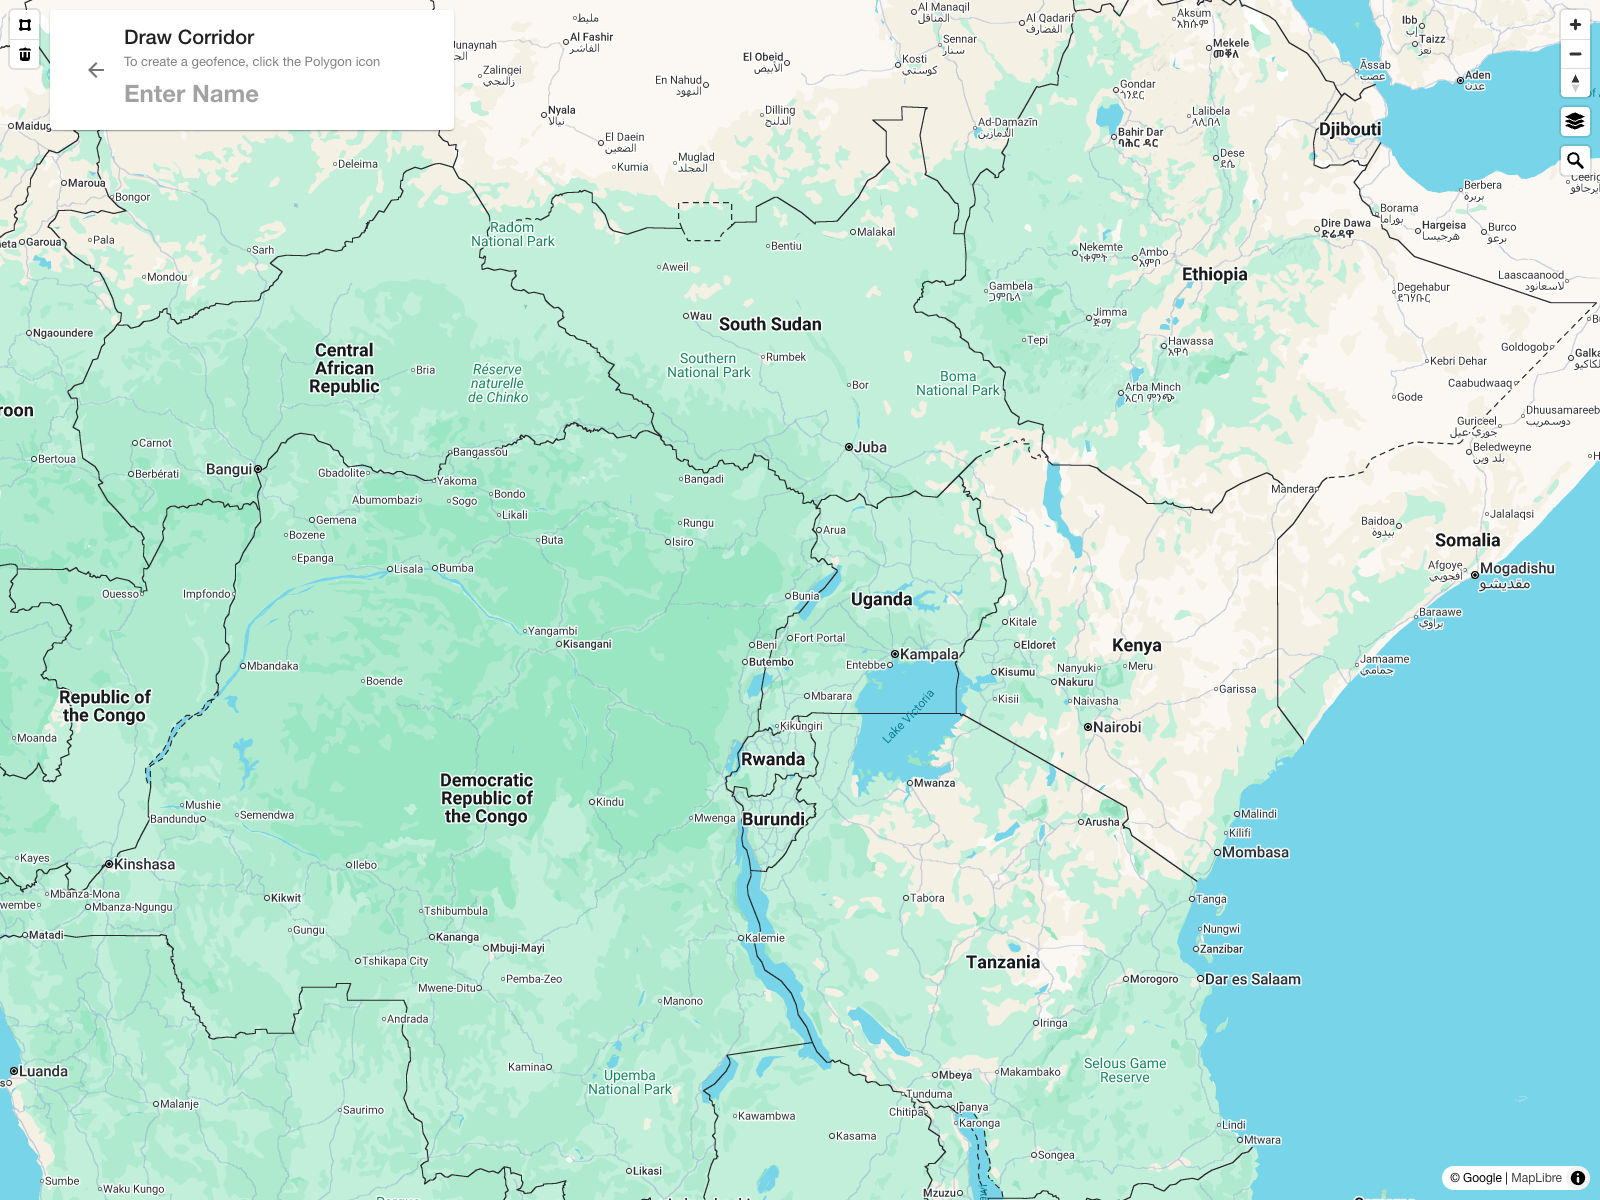
10. Start a New Corridor Drawing
Purpose: Open the corridor geofence canvas before defining a new corridor shape.
Route / context: /routes/corridors -> draw corridor workflow
Steps:
- Open Corridors.
- Use the add action for a new corridor.
- Wait for the map canvas to load.
- Review the on-screen instructions before starting the polygon draw.
Expected result: The portal opens the corridor drawing screen with the map and corridor name panel.
11. Administrative Notes
- The validated corridor edit form currently shows helper text that still references a
maintenance center; rely on the field labels rather than the helper copy. - Dedicated completion flows for route deactivation, checkpoint edit or reactivation, and route authority administration still need fresh validated capture before they should be documented as final procedures.