Access and Navigation
This section covers the standard operator entry path into the portal and the controls users rely on throughout the application.
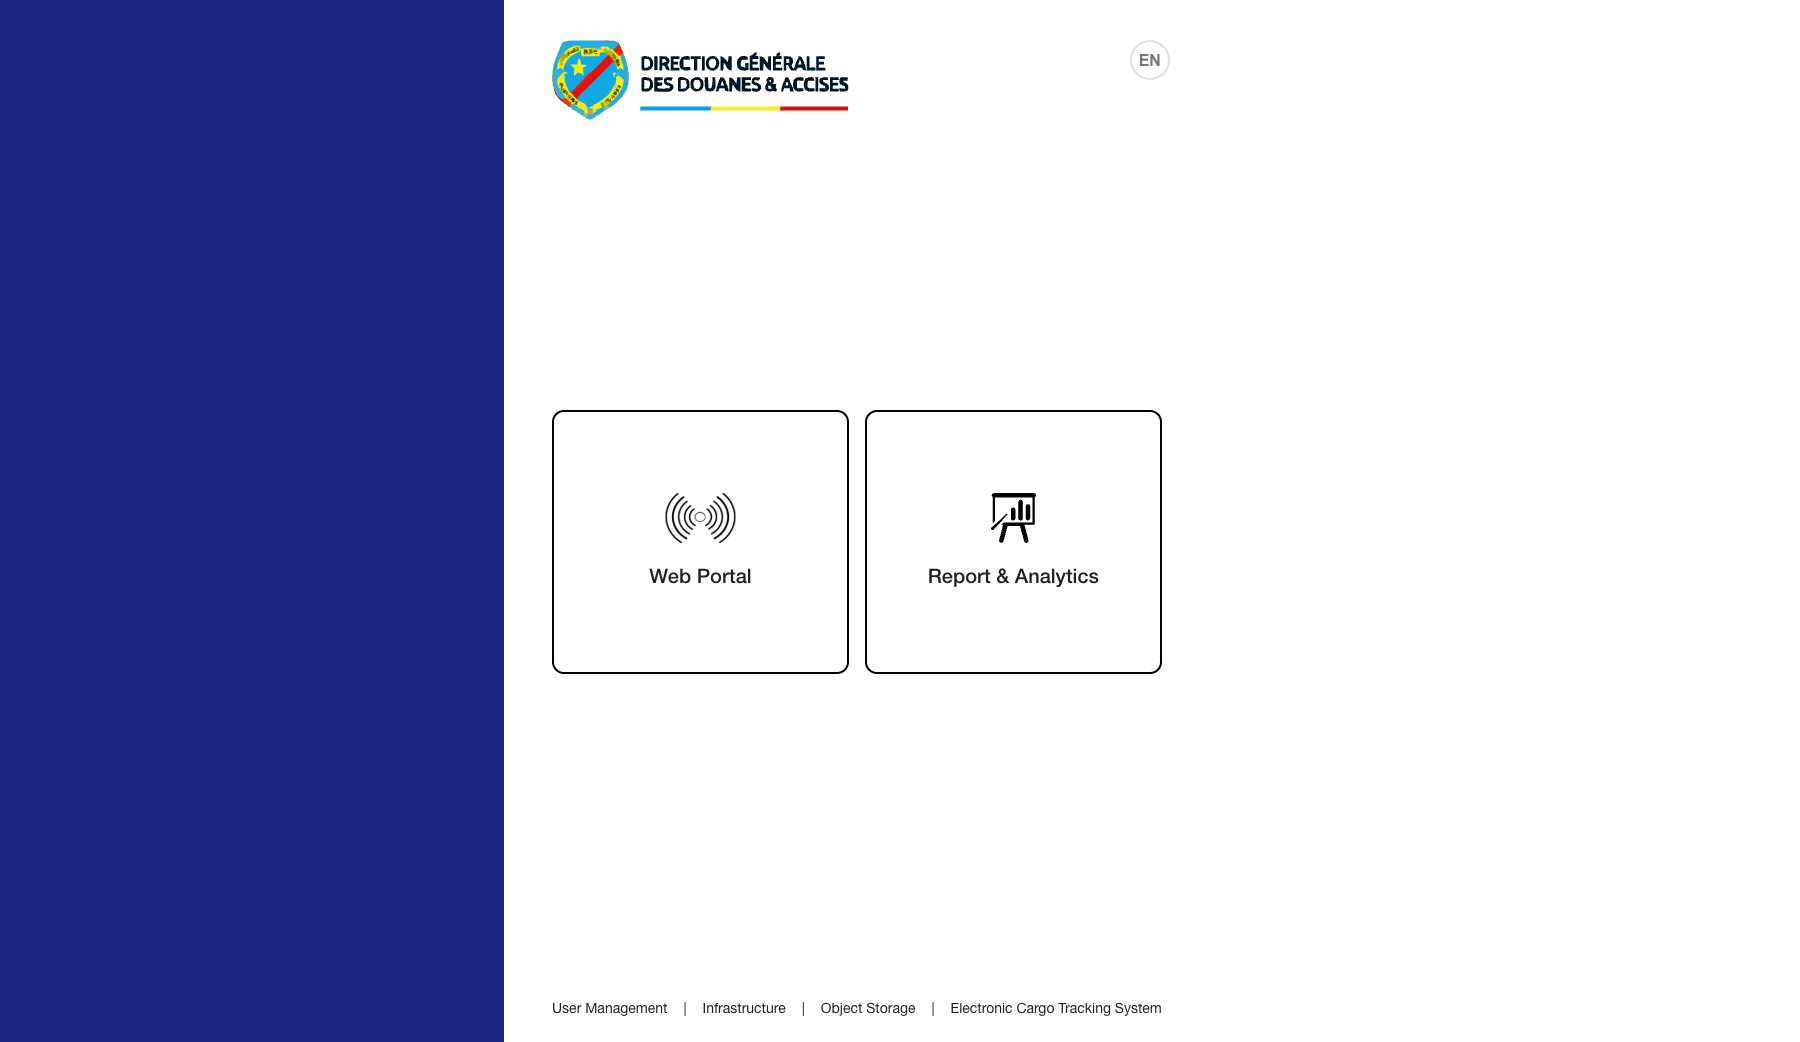
1. Access the Landing Page
Purpose: Start from the public entry page and confirm the portal is reachable.
Navigation path: Open the public login URL for your environment and select Web Portal.
Steps:
- Open the public portal entry page in a supported browser.
- Confirm the landing page loads without broken images or blank sections.
- Click Web Portal to continue to authentication.
Expected result: The landing page loads fully and the call-to-action transitions to the identity provider.
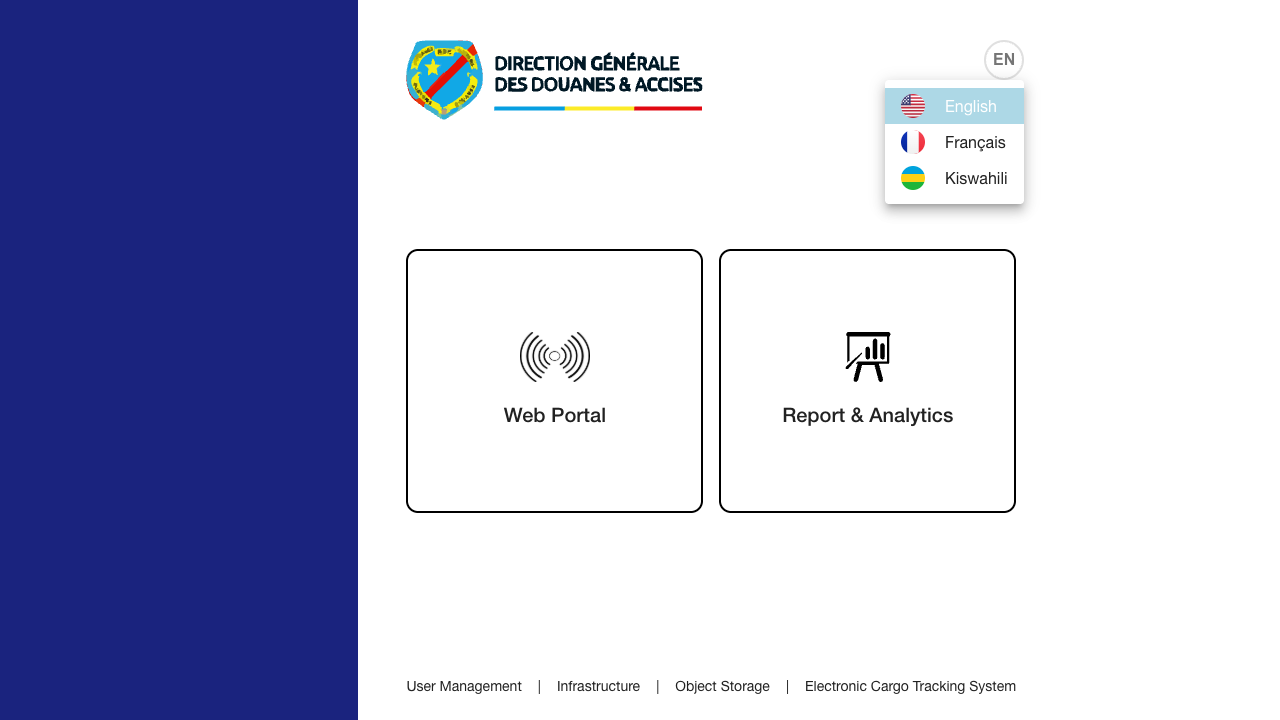
2. Review the Landing-Page Language Options
Purpose: Confirm the public entry page is offering the supported languages before authentication.
Navigation path: Public landing page -> language chip in the top-right corner.
Steps:
- Open the landing page.
- Click the active language chip at the top-right of the page.
- Review the available language options before proceeding to login.
Expected result: The language menu opens and exposes the available public entry languages.
Observed live options: English, Français, and Kiswahili.
3. Authenticate Through Keycloak
Purpose: Establish an authenticated session before accessing operational data.
Navigation path: Landing page -> Web Portal -> identity provider login form.
Steps:
- Enter a valid username.
- Enter the corresponding password.
- Submit the login form.
- If credentials are valid, wait for the redirect back to the portal.
Expected result: The identity form accepts credentials and returns the user to the authenticated portal shell.
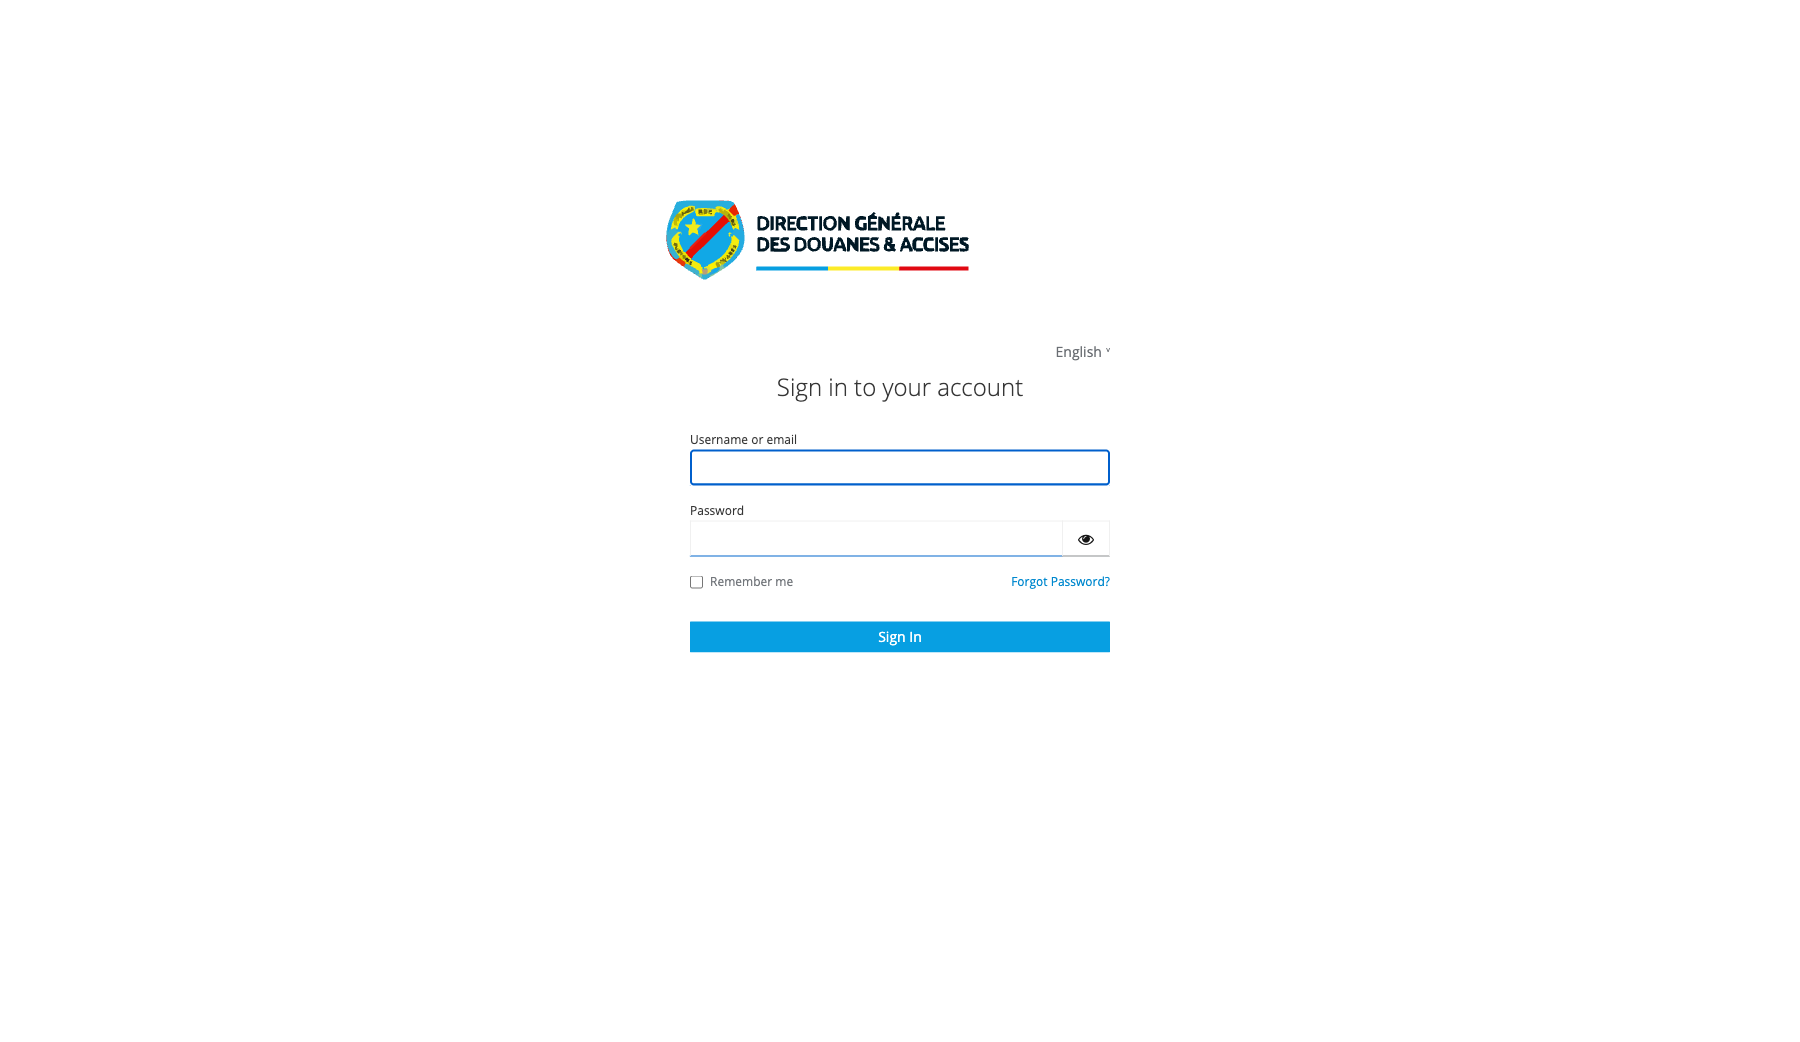
4. Start Password Recovery from Keycloak
Purpose: Use the identity-provider recovery entry point when a user cannot remember the account password.
Navigation path: Keycloak sign-in form -> Forgot Password?
Steps:
- Open the Keycloak sign-in form from the landing page.
- Confirm the Forgot Password? link is visible beneath the password field.
- Use that link to begin the identity-provider recovery flow for the affected account.
Expected result: The recovery process starts from Keycloak rather than from the application shell itself.
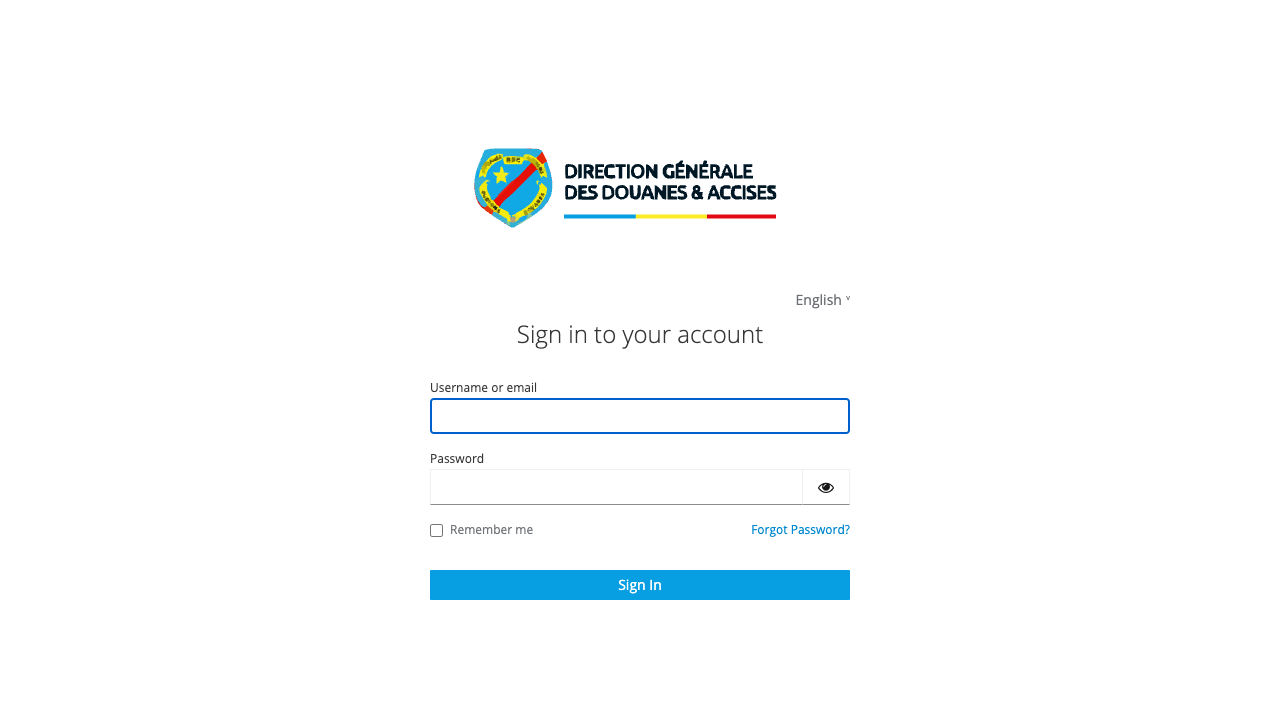
5. Review the Keycloak Language Selector
Purpose: Confirm the identity-provider login page exposes language selection before sign-in.
Navigation path: Keycloak sign-in form -> language menu in the top-right area of the form.
Steps:
- Open the Keycloak sign-in page.
- Click the current language label.
- Review the available login-page language options.
Expected result: The login-page language menu opens and the user can choose a supported locale before authentication.
Observed live options: English and Français.

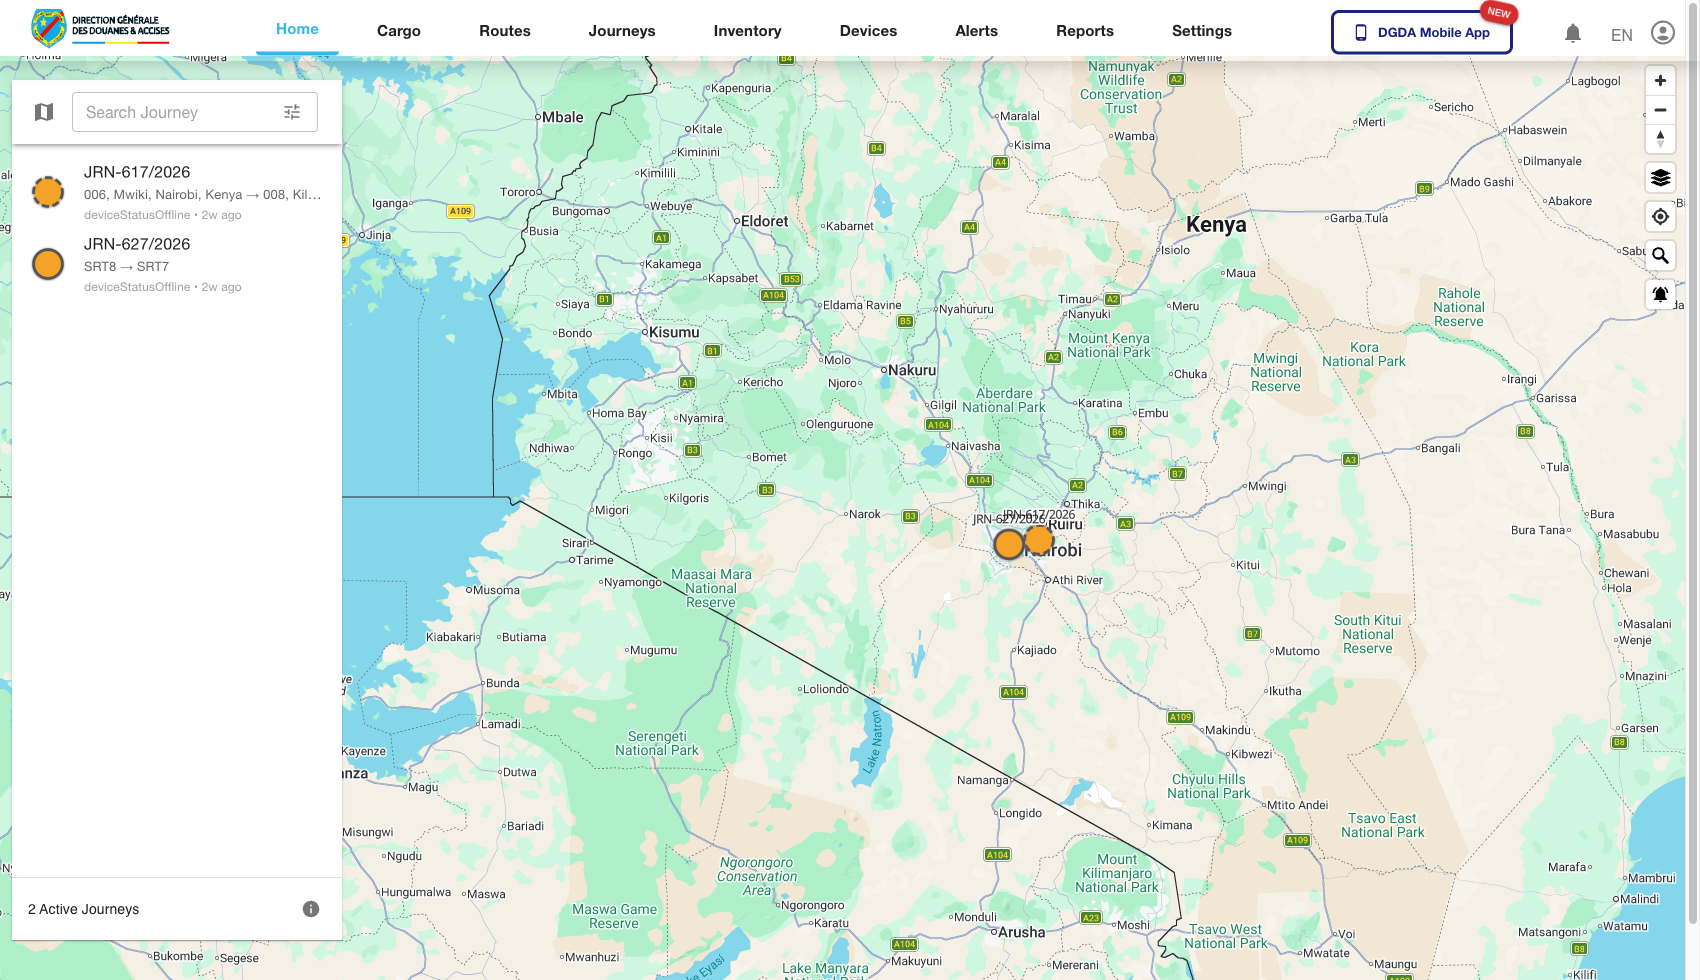
6. Confirm the Home Map Loads
Purpose: Validate that authentication, initial data loading, and the main shell all completed successfully.
Navigation path: Automatic redirect after successful sign-in.
Steps:
- Wait for the home page to load after login.
- Confirm the top navigation is visible.
- Confirm the map canvas and controls render.
- Confirm the page does not show a runtime error banner or a blank content area.
Expected result: The user arrives on the home map with full access to the primary portal modules.
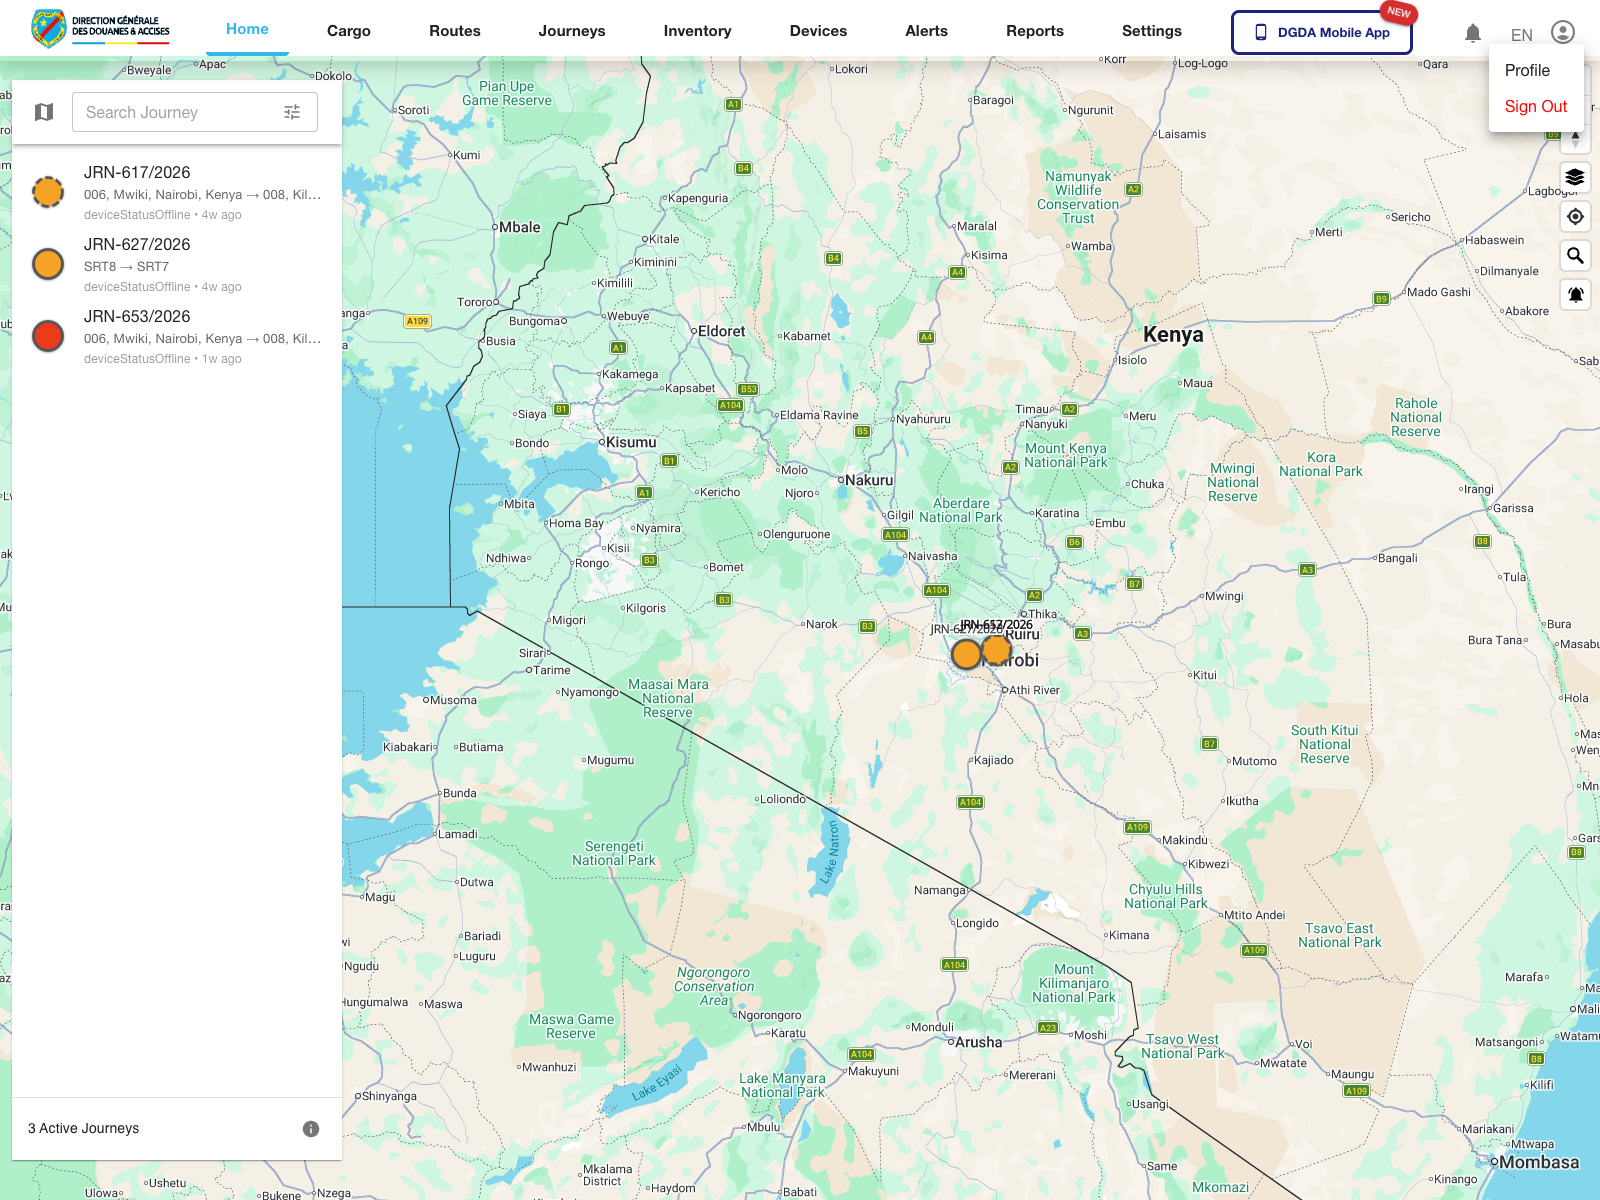
7. Open the User Account Menu
Purpose: Access session-level actions such as profile review and sign-out.
Navigation path: Authenticated portal shell -> account icon in the top-right corner.
Steps:
- Sign in to the portal.
- Click the account icon in the top-right corner of the application header.
- Review the session actions displayed in the user menu.
Expected result: The user menu opens and exposes the available account-level actions.
Observed live actions: Profile and Sign Out.
8. Use the Global Navigation Model
The portal uses a consistent interaction model across modules.
| Area | How users interact with it | Why it matters |
|---|---|---|
| Top navigation | Switches between Home, Cargo, Routes, Journeys, Inventory, Devices, Alerts, Reports, and Settings | This is the main module switcher |
| Left navigation | Changes the current view inside the selected module | Most lists, forms, and dashboards are accessed here |
| Search and filters | Narrow data by identifier, status, assignment state, or type | Reduces long lists to the operational records that matter now |
| Row actions | Open detail, edit, or workflow transitions | Most investigation and administration flows start here |
9. Common Navigation Pattern for Every Module
Steps:
- Select the required business module from the top navigation.
- Choose the relevant subsection from the left navigation.
- Apply filters before acting on large tables.
- Use the row action or detail entry point to drill into a specific record.
Expected result: Users can consistently move from module entry, to filtered list, to record-level action without changing interaction habits between modules.
10. Notes for Administrators
- The account menu is the validated entry point for Profile and Sign Out.
- Password recovery is handled by Keycloak, not by an in-portal settings page.
- Language selection is available both before portal login and on the Keycloak sign-in screen.