Devices
The Devices module has the widest surface area in the current portal capture. This section groups the validated device pages into operational tasks for summary review, registration, configuration, command execution, monitoring, custody management, and device administration.
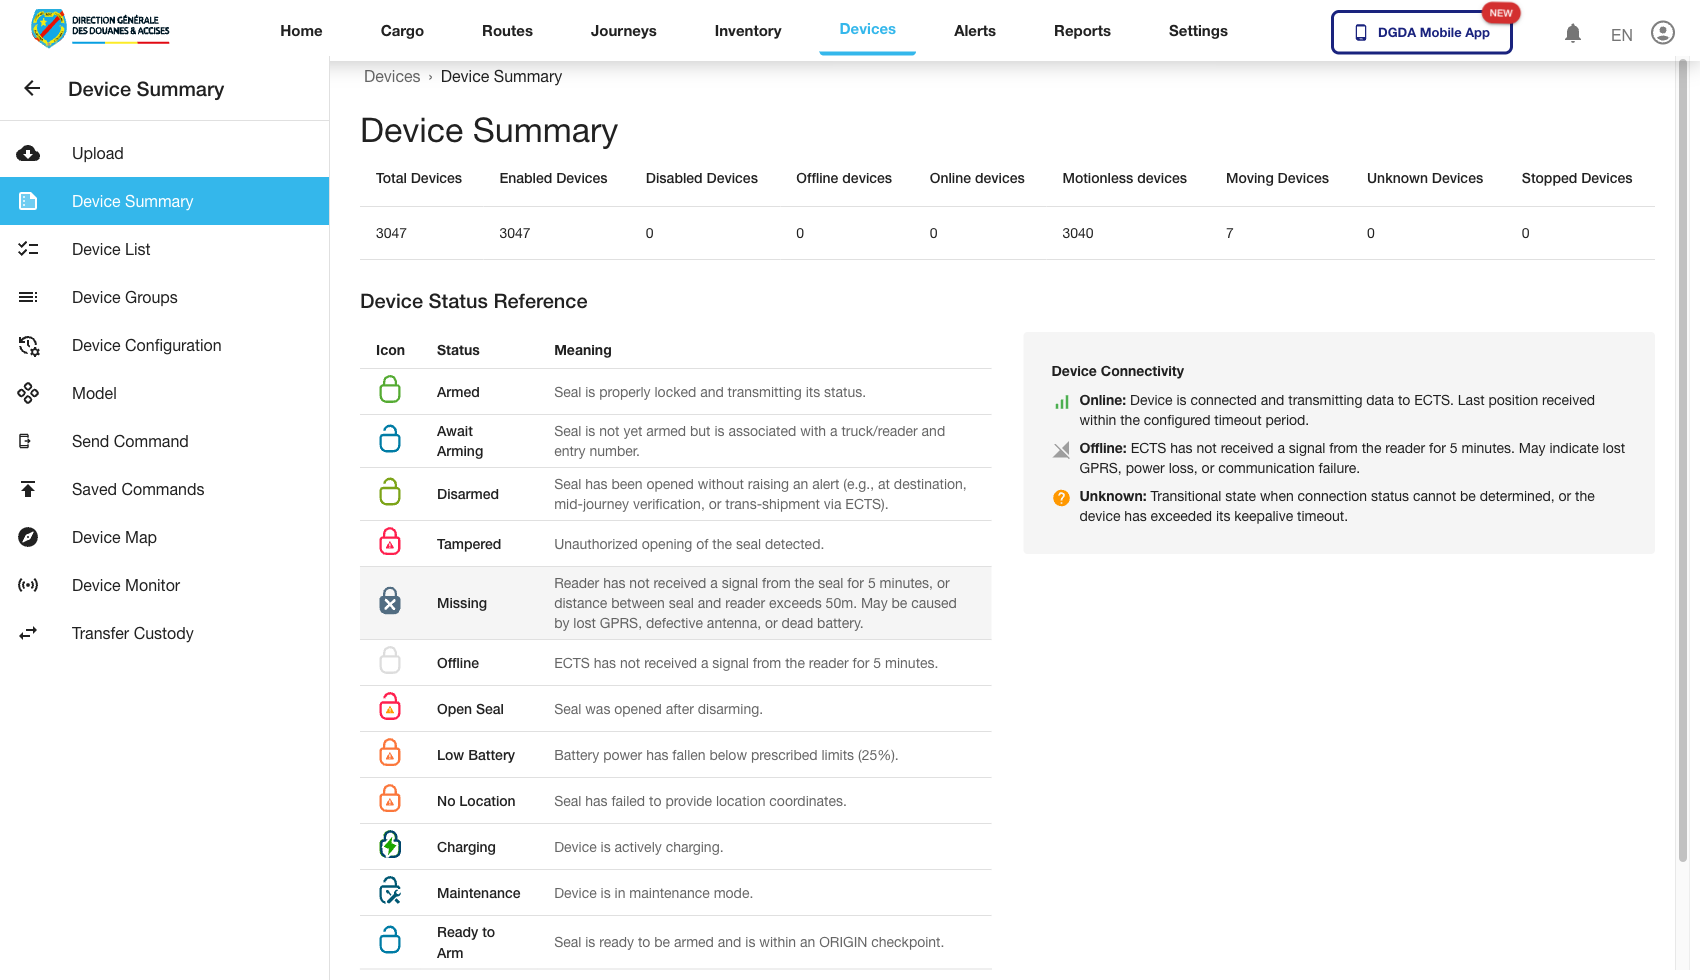
1. Review the Device Summary Dashboard
Purpose: Start from a high-level view of the device estate.
Route / context: /device/device-summary
Steps:
- Open Devices from the top navigation.
- Select Device Summary.
- Review the summary counts or high-level indicators.
Expected result: The dashboard loads and provides a baseline view of the device estate.
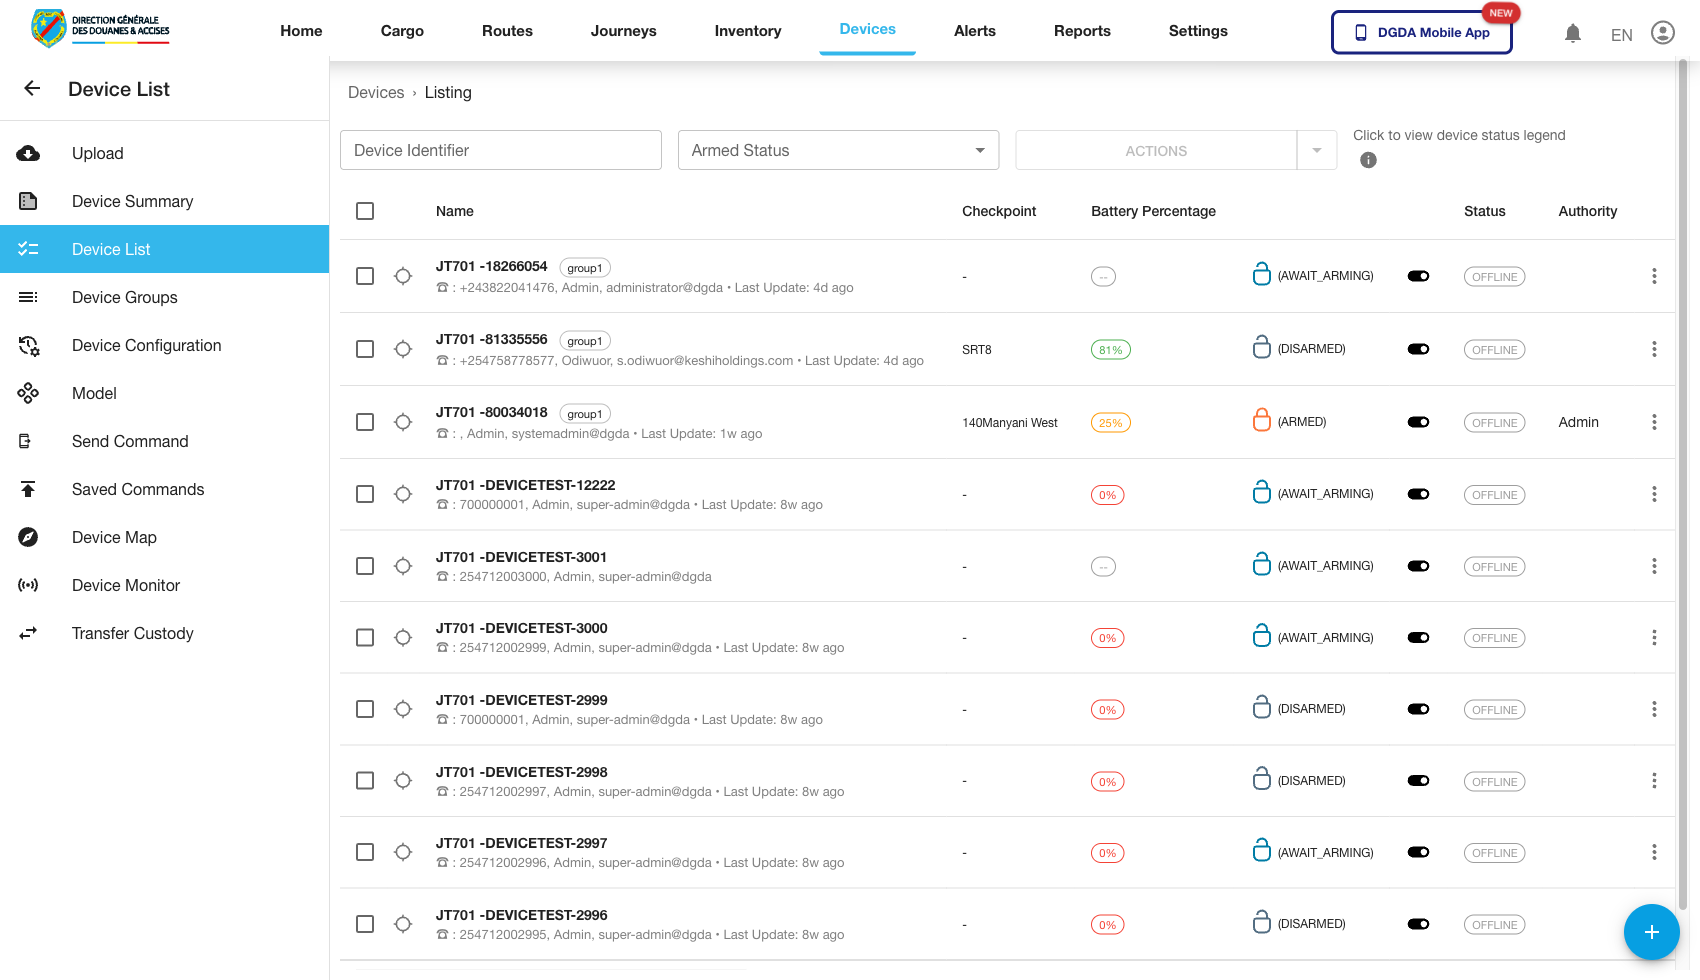
2. Review the Device List
Purpose: Browse registered devices in a detailed list view.
Route / context: /device/device-list
Steps:
- Open Device List.
- Search for the device identifier or browse the table.
- Use the list as the main entry point for device investigation.
Expected result: The device list loads with device-level operational detail.
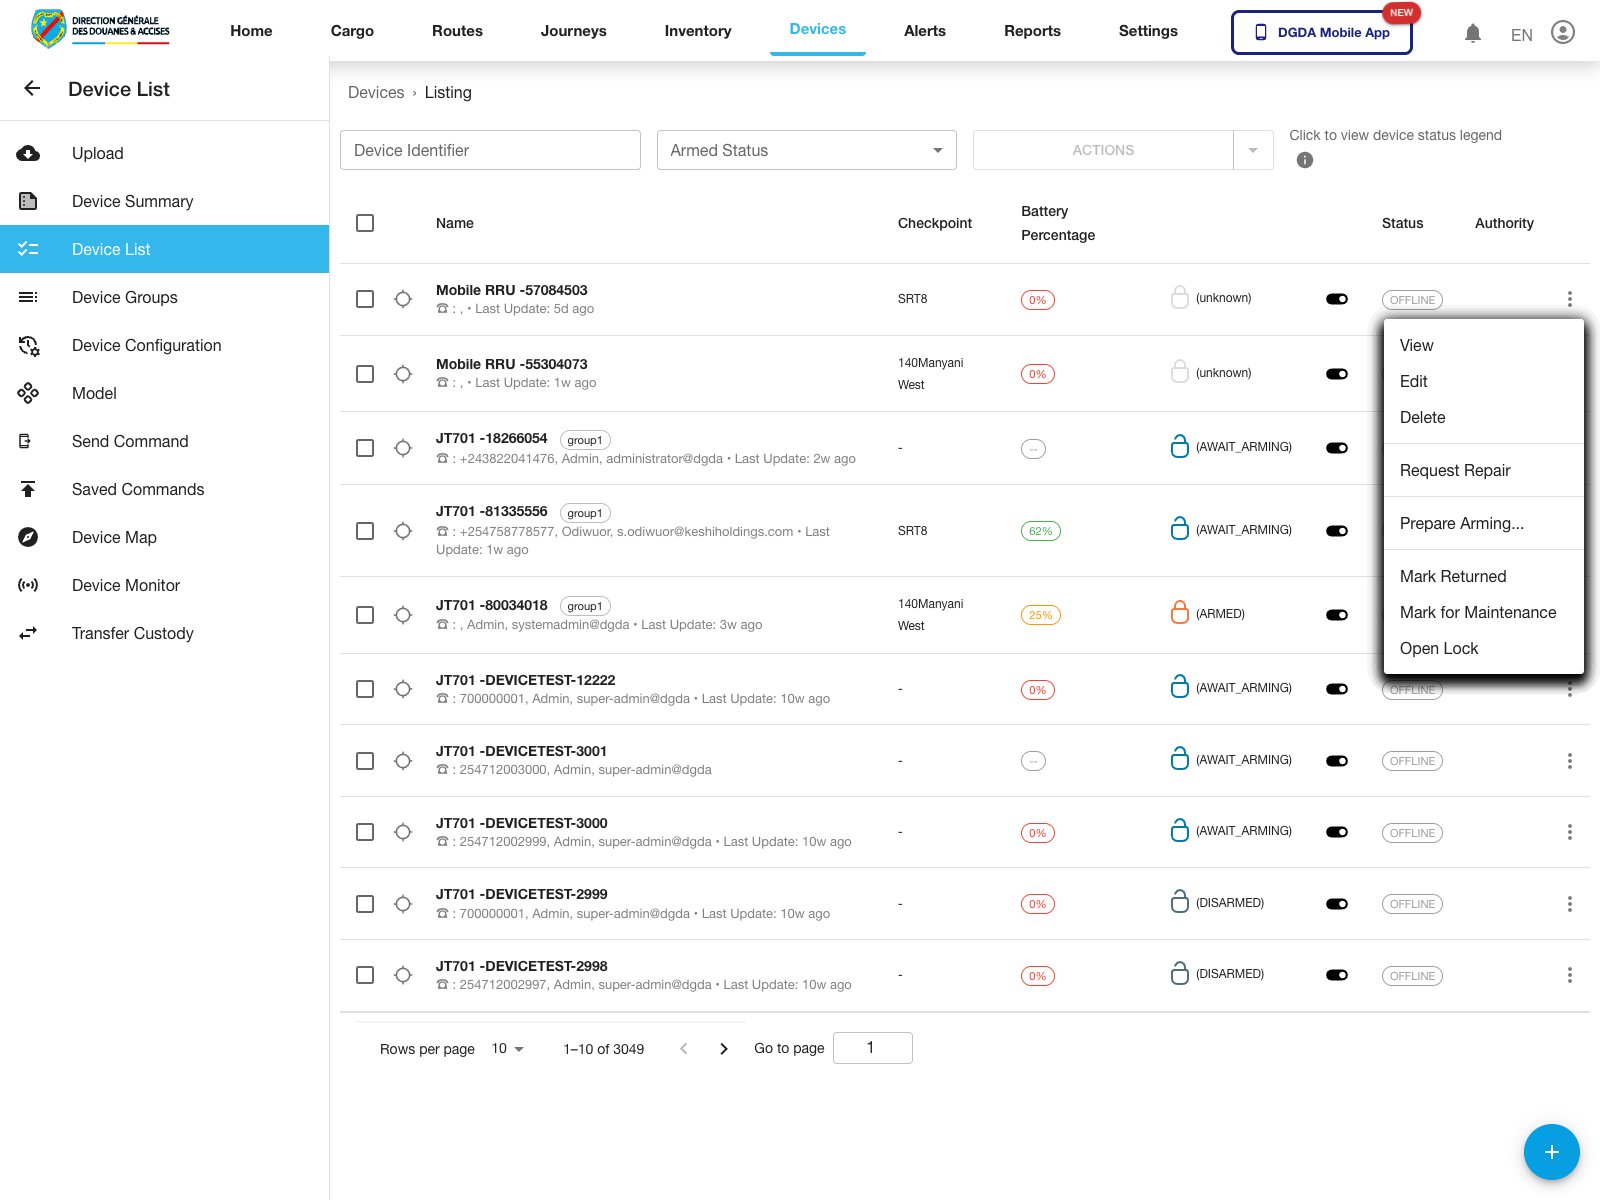
3. Open Device Row Actions
Purpose: Inspect the per-device actions available from the main device list.
Route / context: /device/device-list
Steps:
- Open Device List.
- Locate the device row you want to manage.
- Click the row action button.
- Review the menu before choosing the next workflow.
Expected result: The row-action menu opens for the selected device.
Observed live actions: View, Edit, Delete, Request Repair, Prepare Arming..., Mark Returned, Mark for Maintenance, and Open Lock.
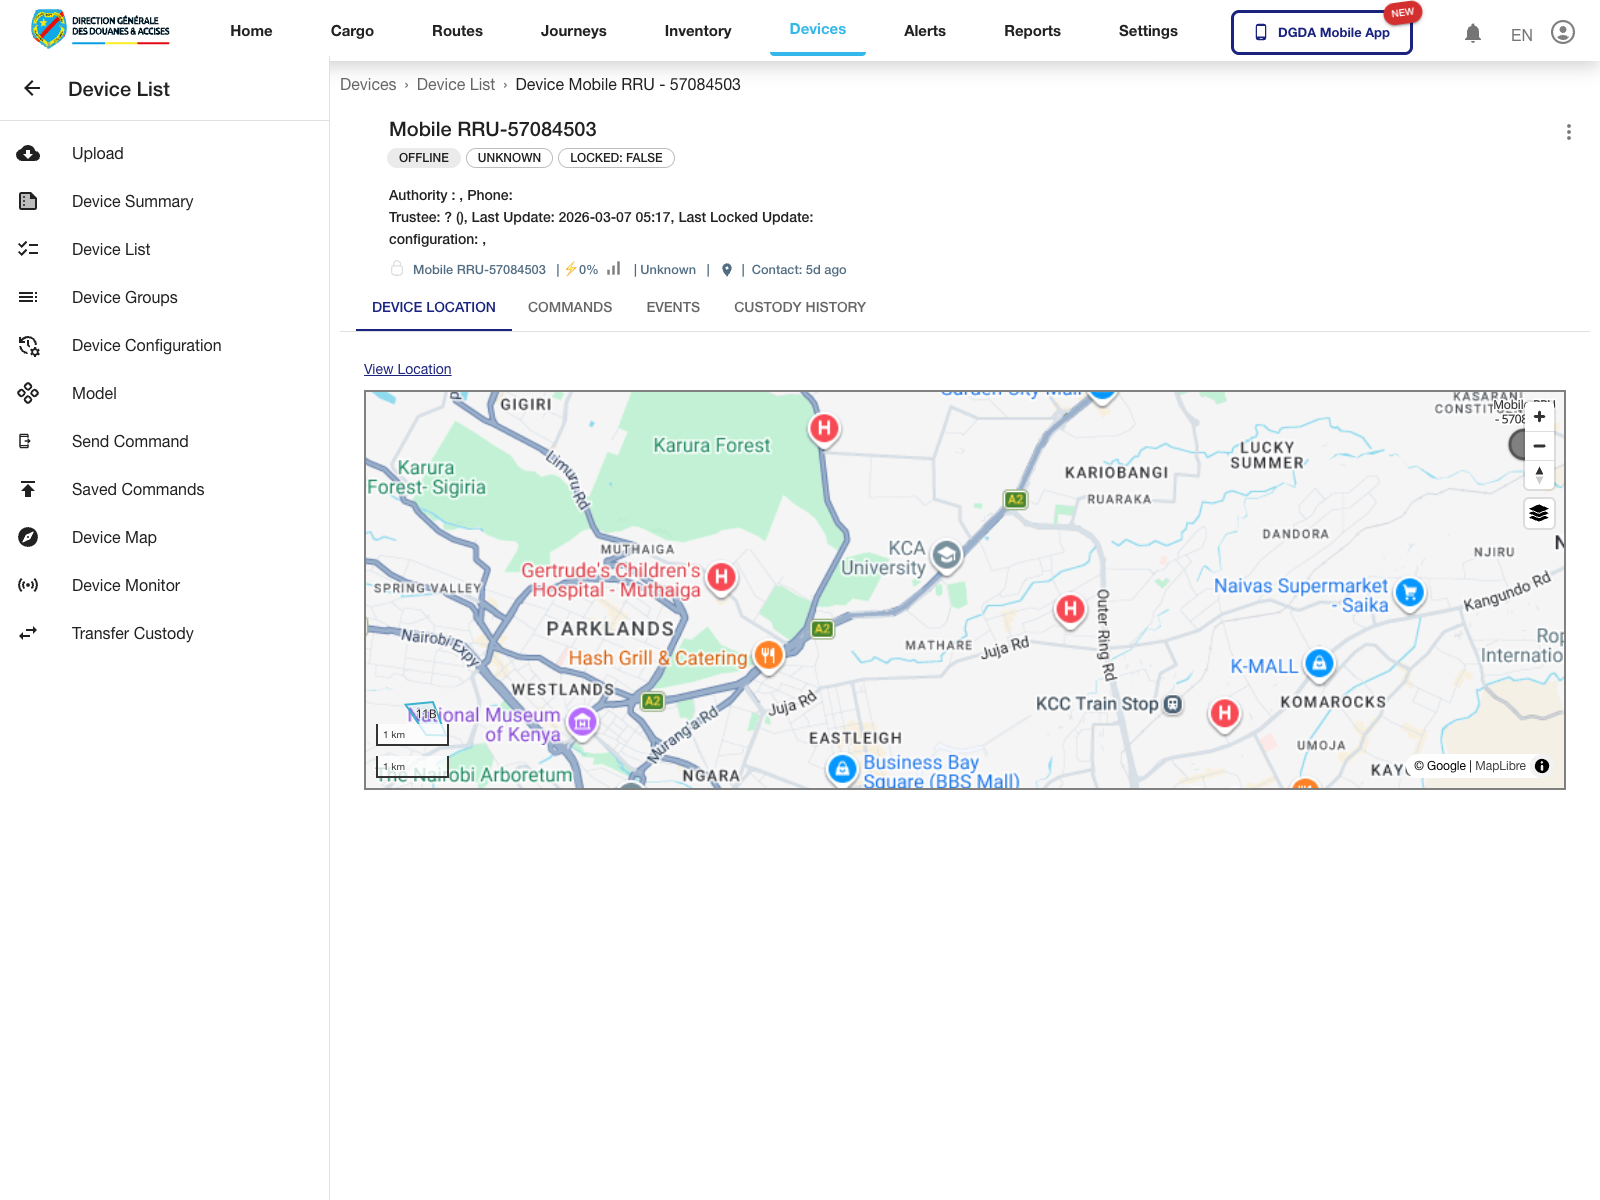
4. View Device Detail
Purpose: Open the detailed device workspace for a selected device.
Route / context: /device/device-list -> /device/device-detail/:id
Steps:
- Open the device row action menu.
- Select View.
- Wait for the detail page to load.
- Review the device tabs and the action controls shown on the detail page.
Expected result: The portal opens the device detail page for the selected record.
Observed live tabs: Device Location, Commands, and Custody History.
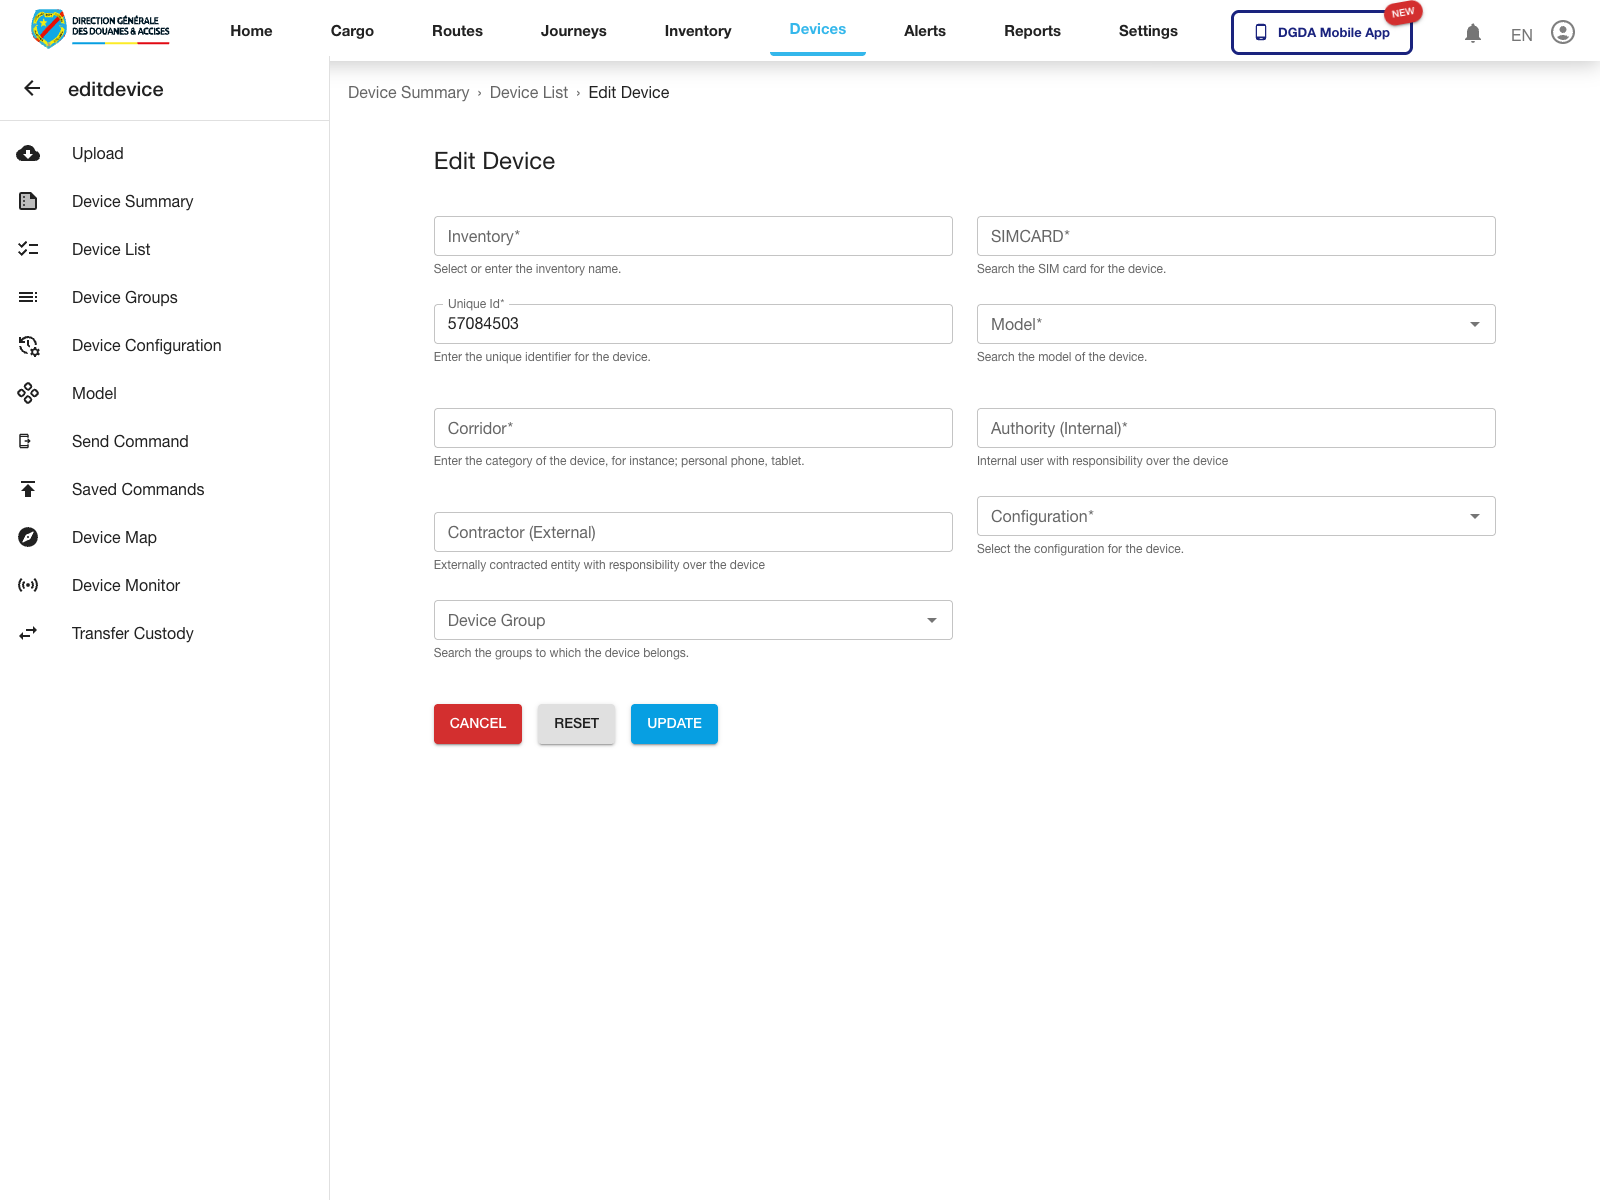
5. Edit a Device
Purpose: Update the registration metadata for an existing device.
Route / context: /device/device-list -> /device/edit-device/:id
Steps:
- Open the device row action menu.
- Select Edit.
- Review the editable device fields.
- Update the required values.
- Use Update when ready.
Expected result: The device edit form opens for the selected record.
Observed live fields include: Model, Configuration, and Device Group.
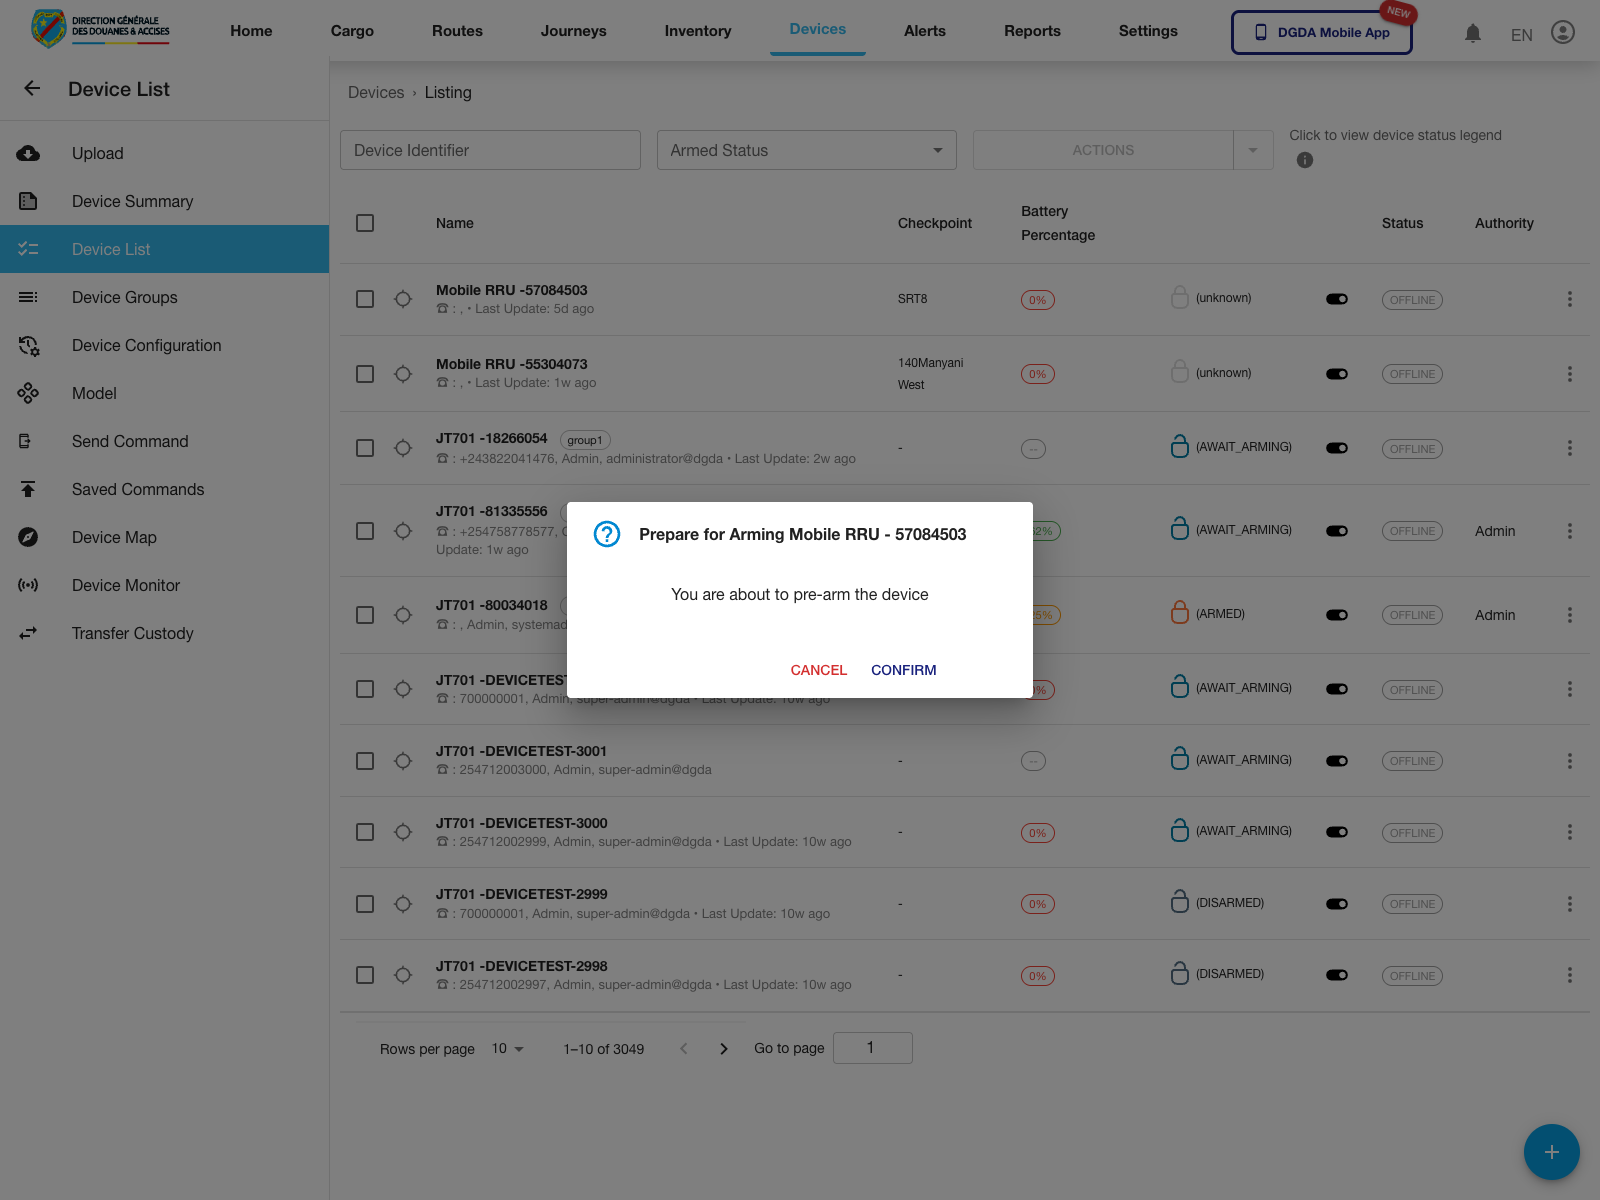
6. Start Device Arming Preparation
Purpose: Begin the device arming-preparation workflow without committing the action.
Route / context: /device/device-list -> row actions -> Prepare Arming...
Steps:
- Open the row action menu for the target device.
- Select Prepare Arming....
- Review the confirmation dialog.
- Use Confirm to proceed or Cancel to stop.
Expected result: The portal opens a confirmation dialog for arming preparation before any state change is applied.
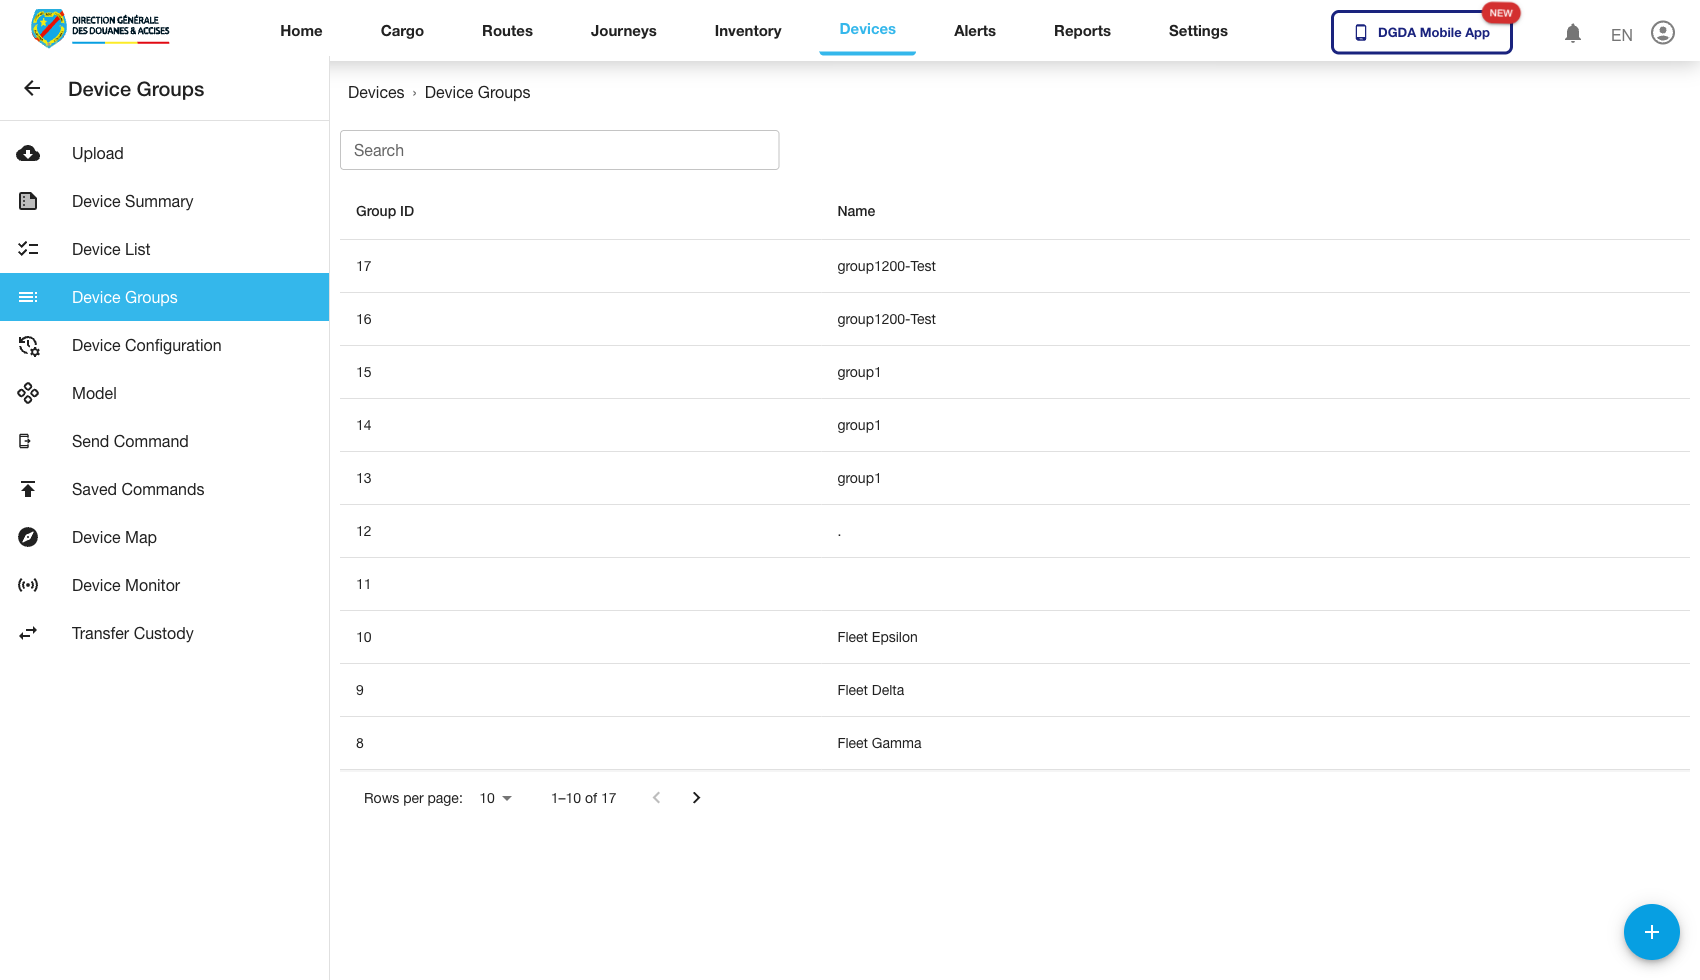
7. Review Device Groups
Purpose: Confirm the current device grouping model.
Route / context: /device/device-group
Steps:
- Open Device Group.
- Review existing groups.
- Confirm grouping entries are visible and manageable according to role.
Expected result: Device groups are listed and usable for administrative organization.
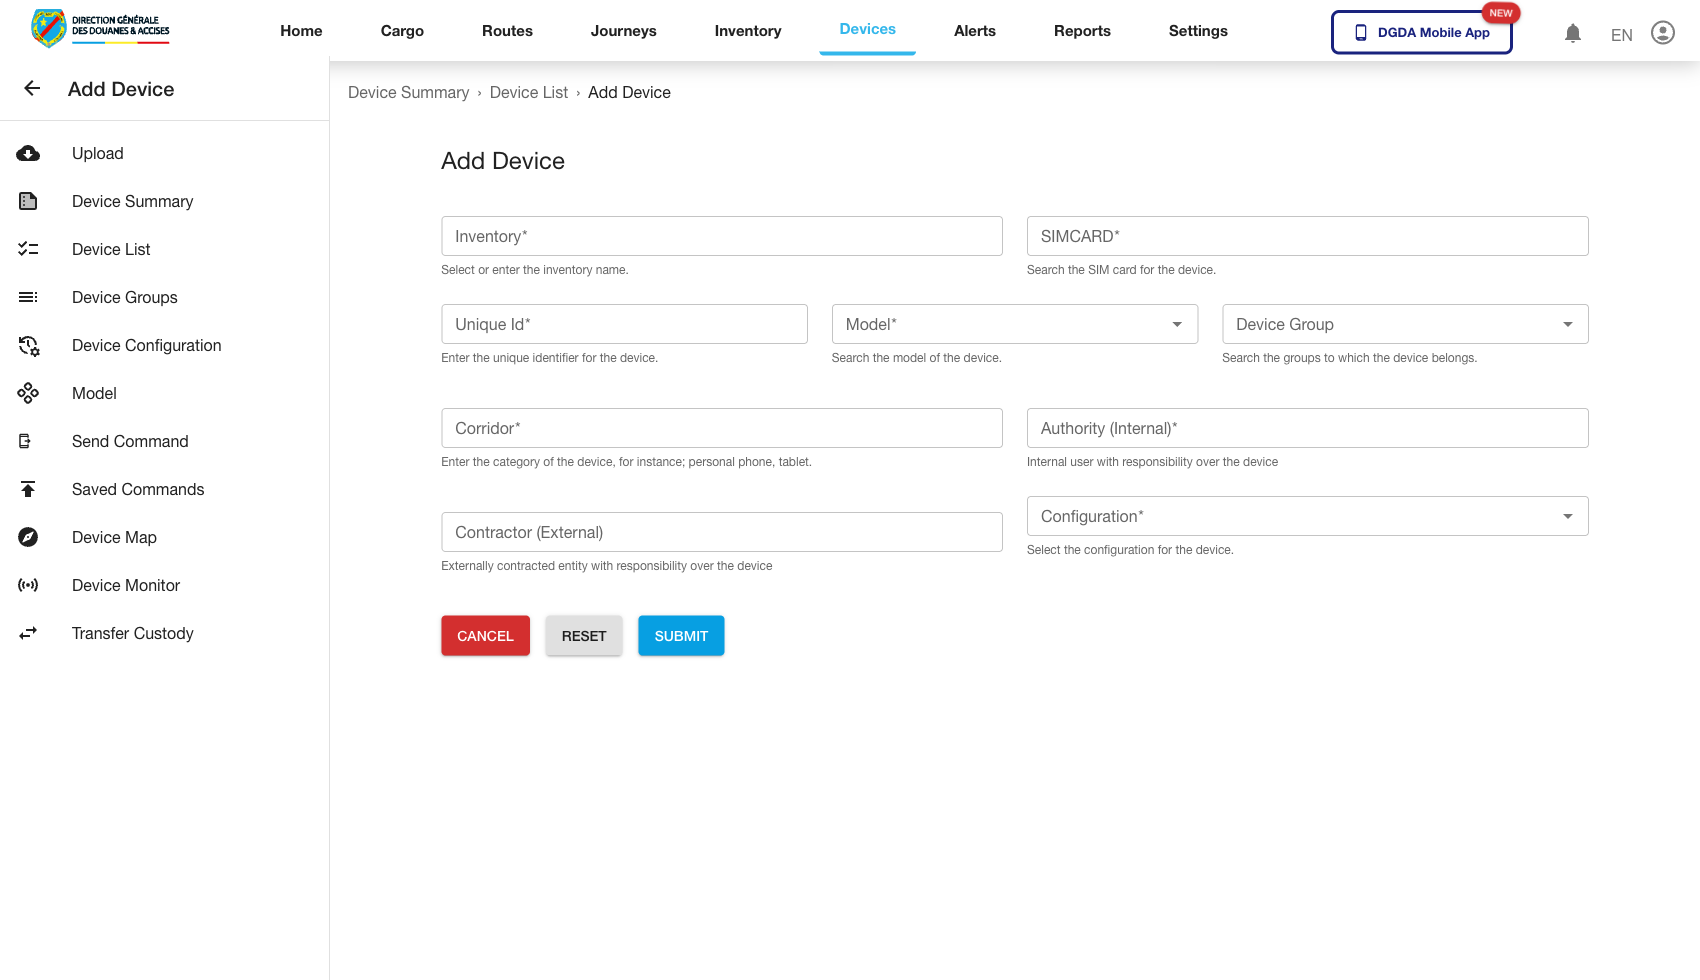
8. Add a Device
Purpose: Register a new device in the system.
Route / context: /device/add-device
Steps:
- Open Add Device.
- Complete the required registration fields.
- Save the record.
- Confirm the device is available in the device inventory afterward.
Expected result: A new device is created successfully.
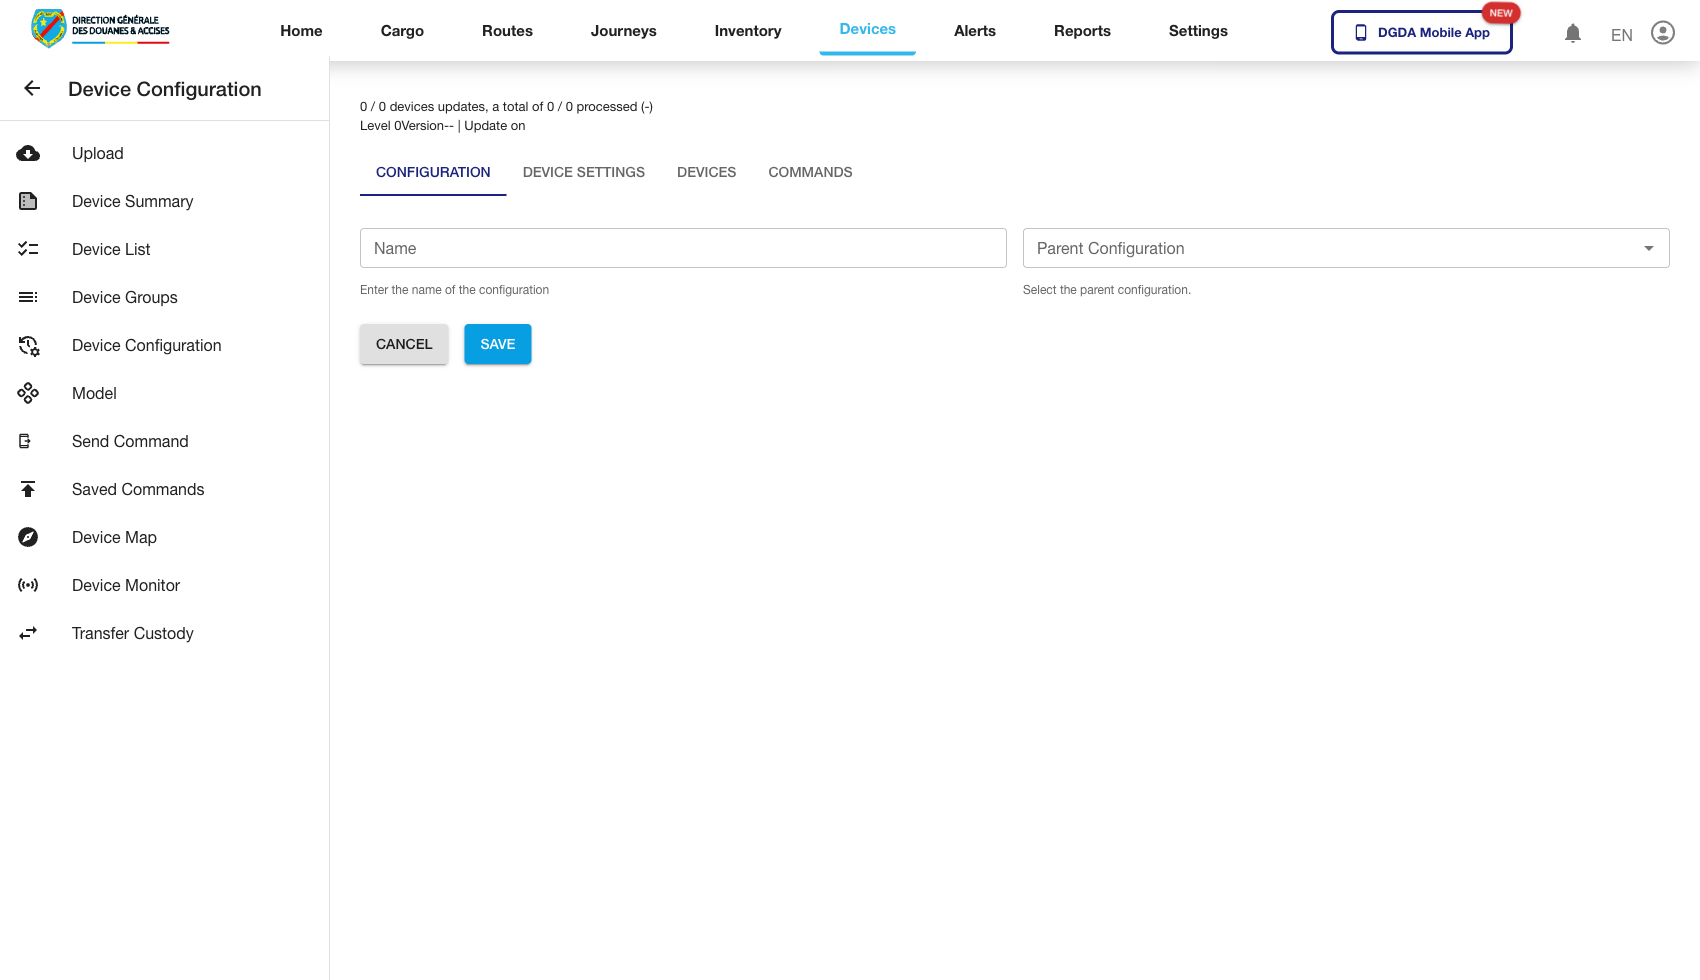
9. Configure Devices
Purpose: Apply configuration logic to devices or groups.
Route / context: /device/configure-devices
Steps:
- Open Configure Devices.
- Select the target device or device group.
- Apply the required configuration profile or values.
- Save the configuration change.
Expected result: The device configuration screen loads correctly and supports configuration assignment.
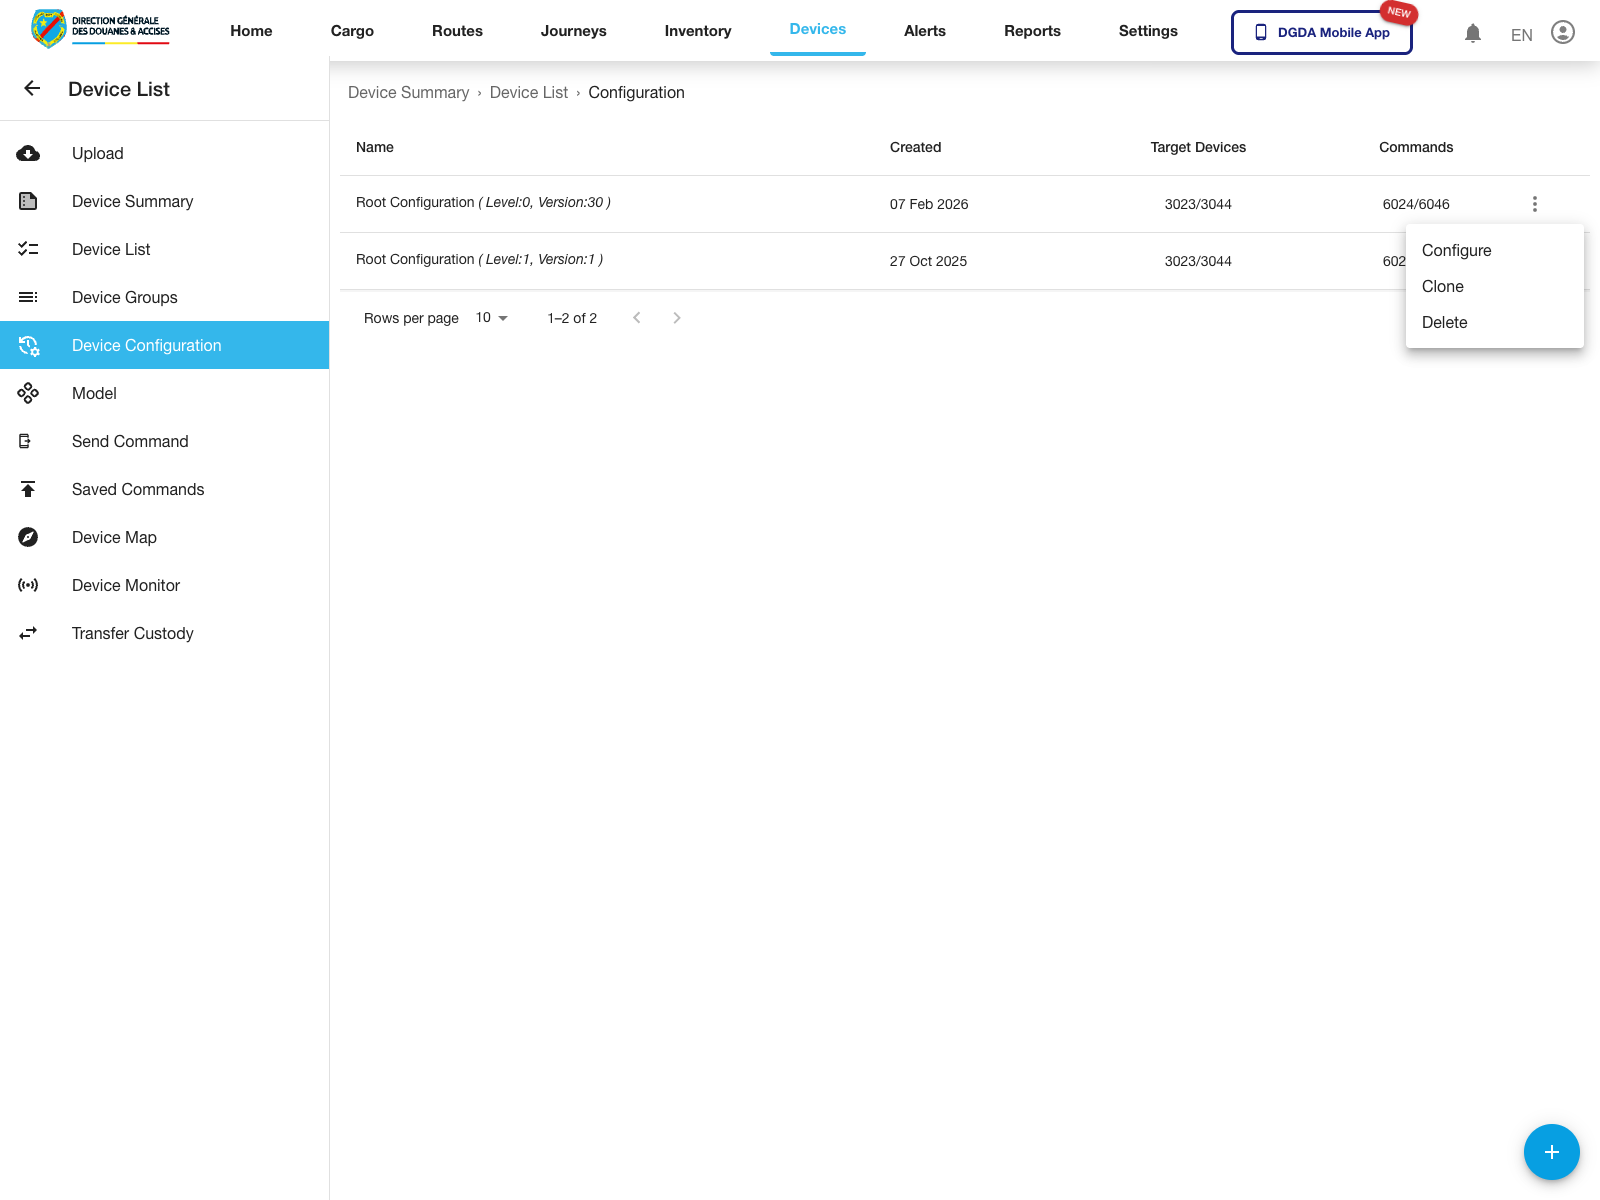
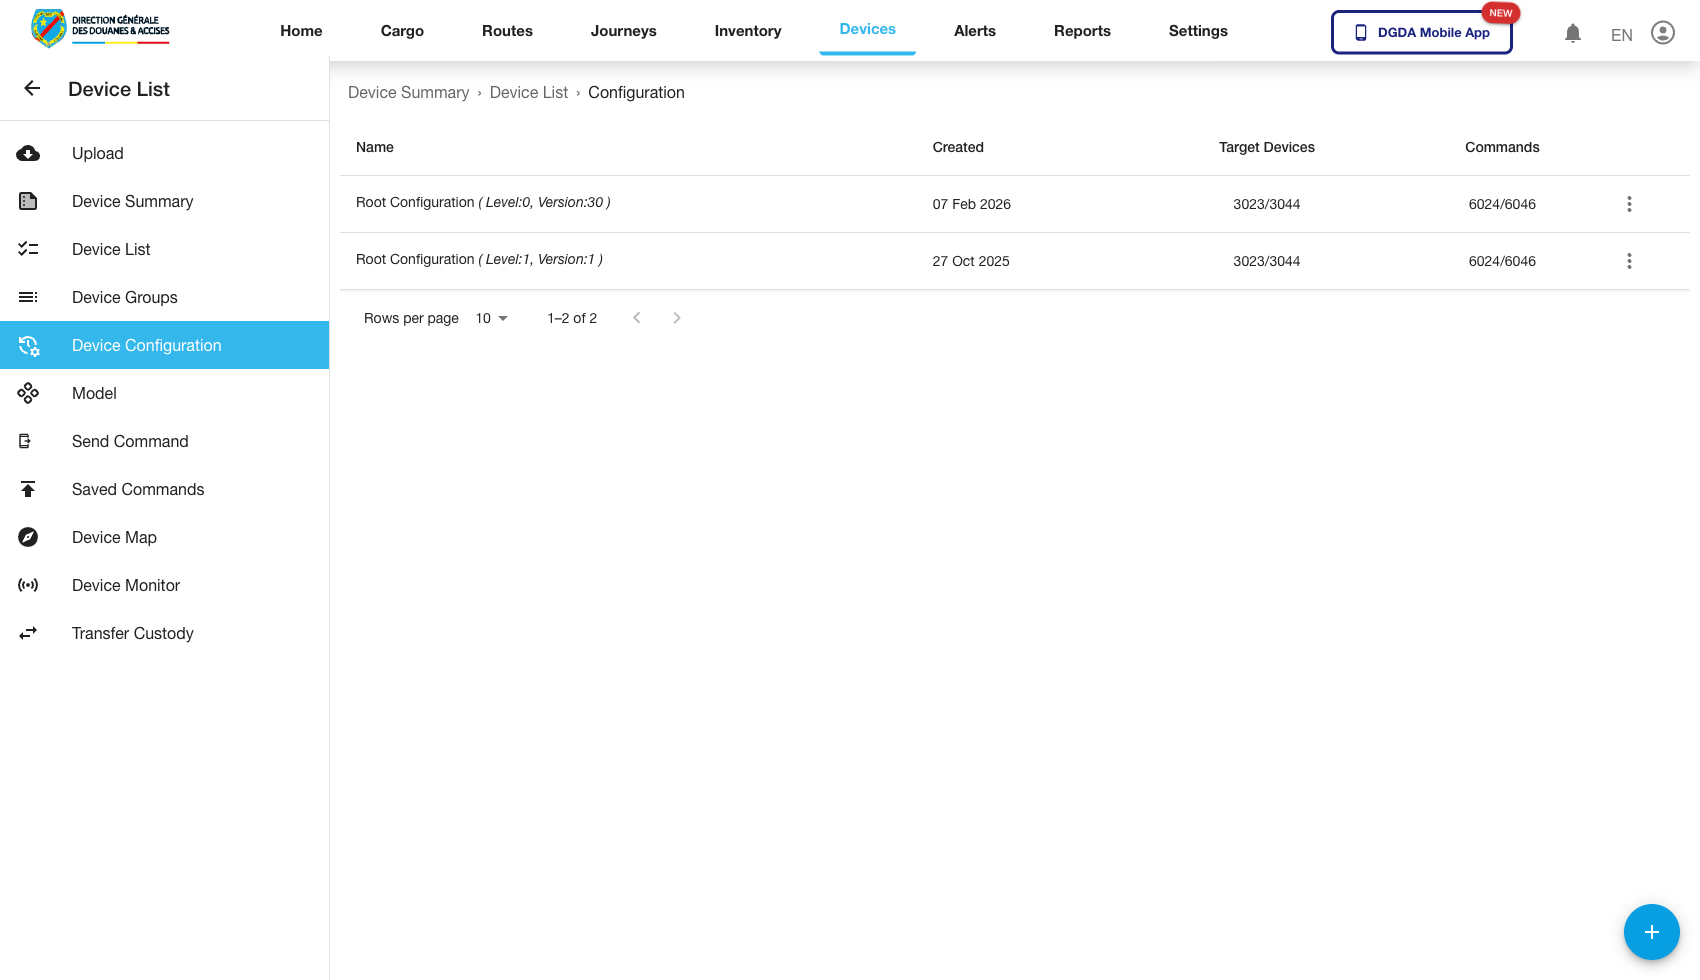
10. Review Device Configuration Actions
Purpose: Inspect the reusable actions available for saved device configurations.
Route / context: /device/device-configurations
Steps:
- Open Device Configuration from the left navigation.
- Locate the saved configuration you want to manage.
- Open the row action menu.
- Review the available configuration actions.
Expected result: The configuration row menu opens for the selected record.
Observed live actions: Configure, Clone, and Delete.
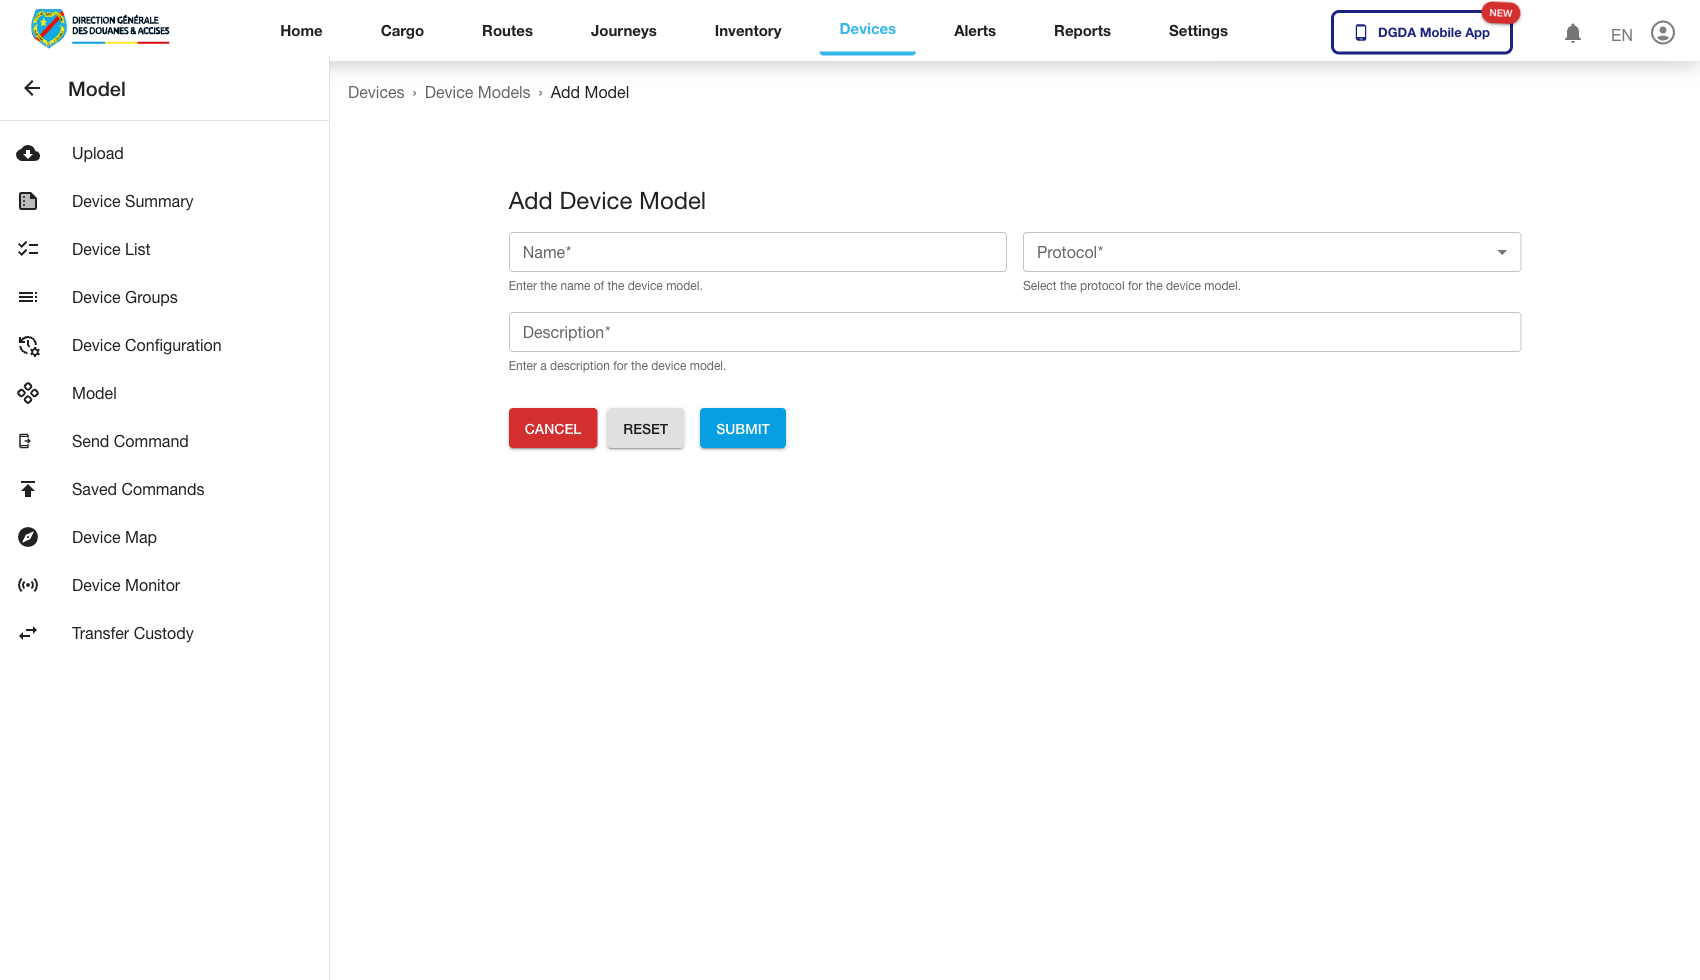
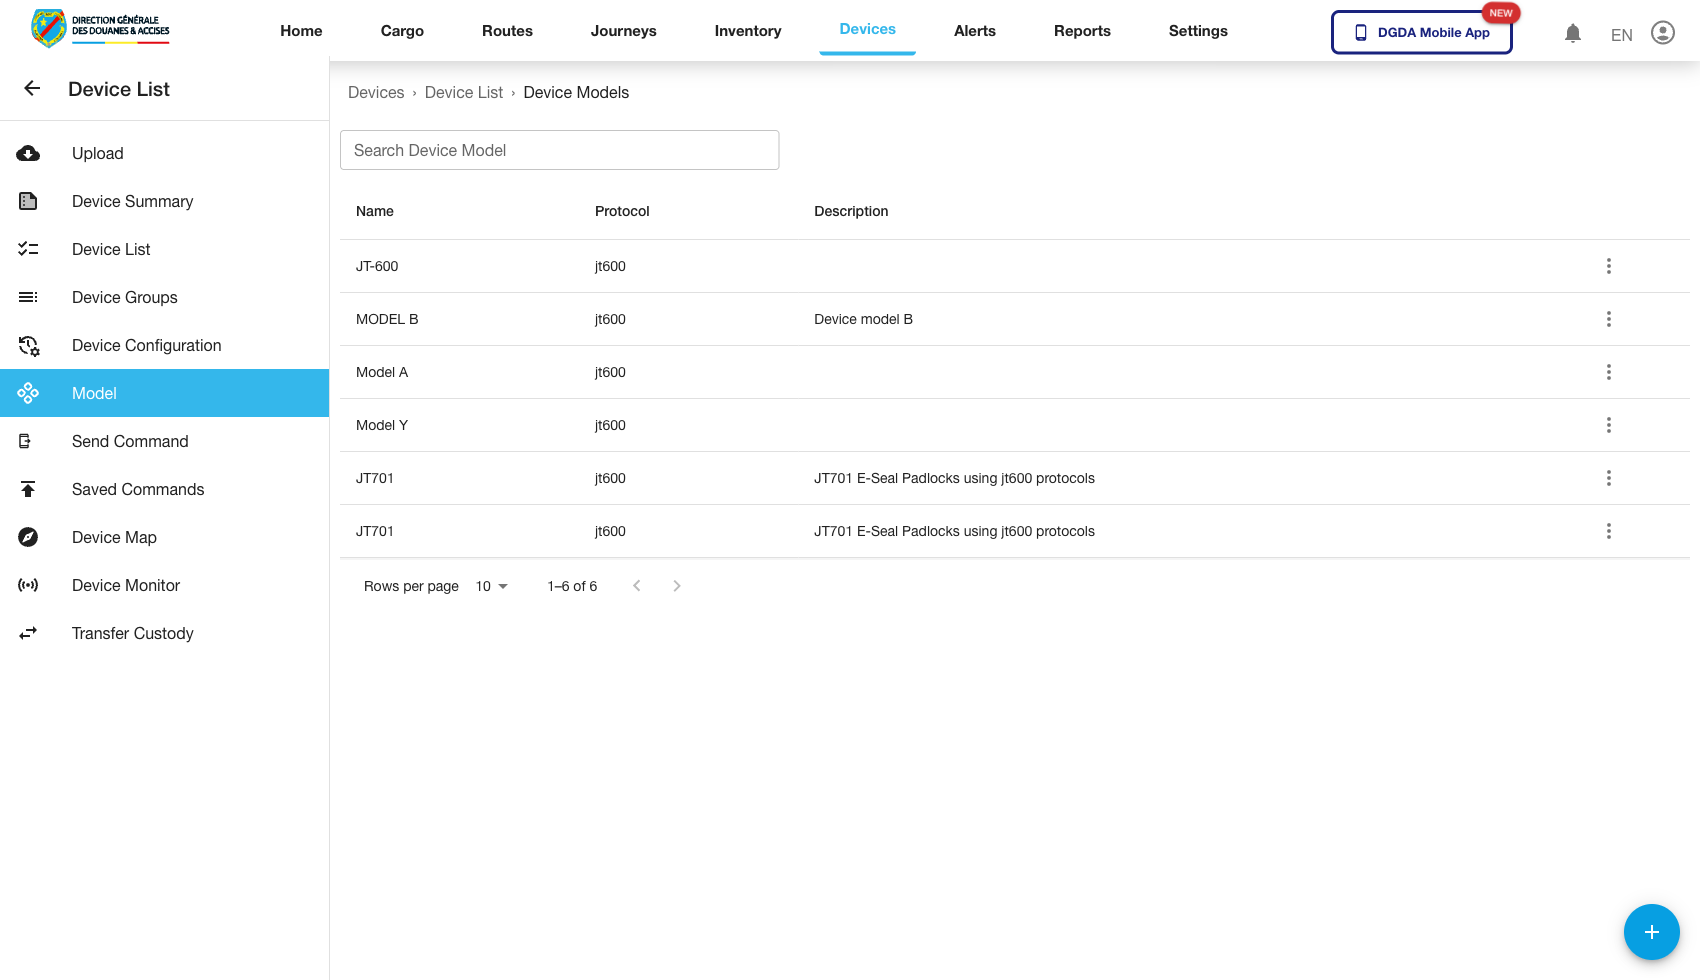
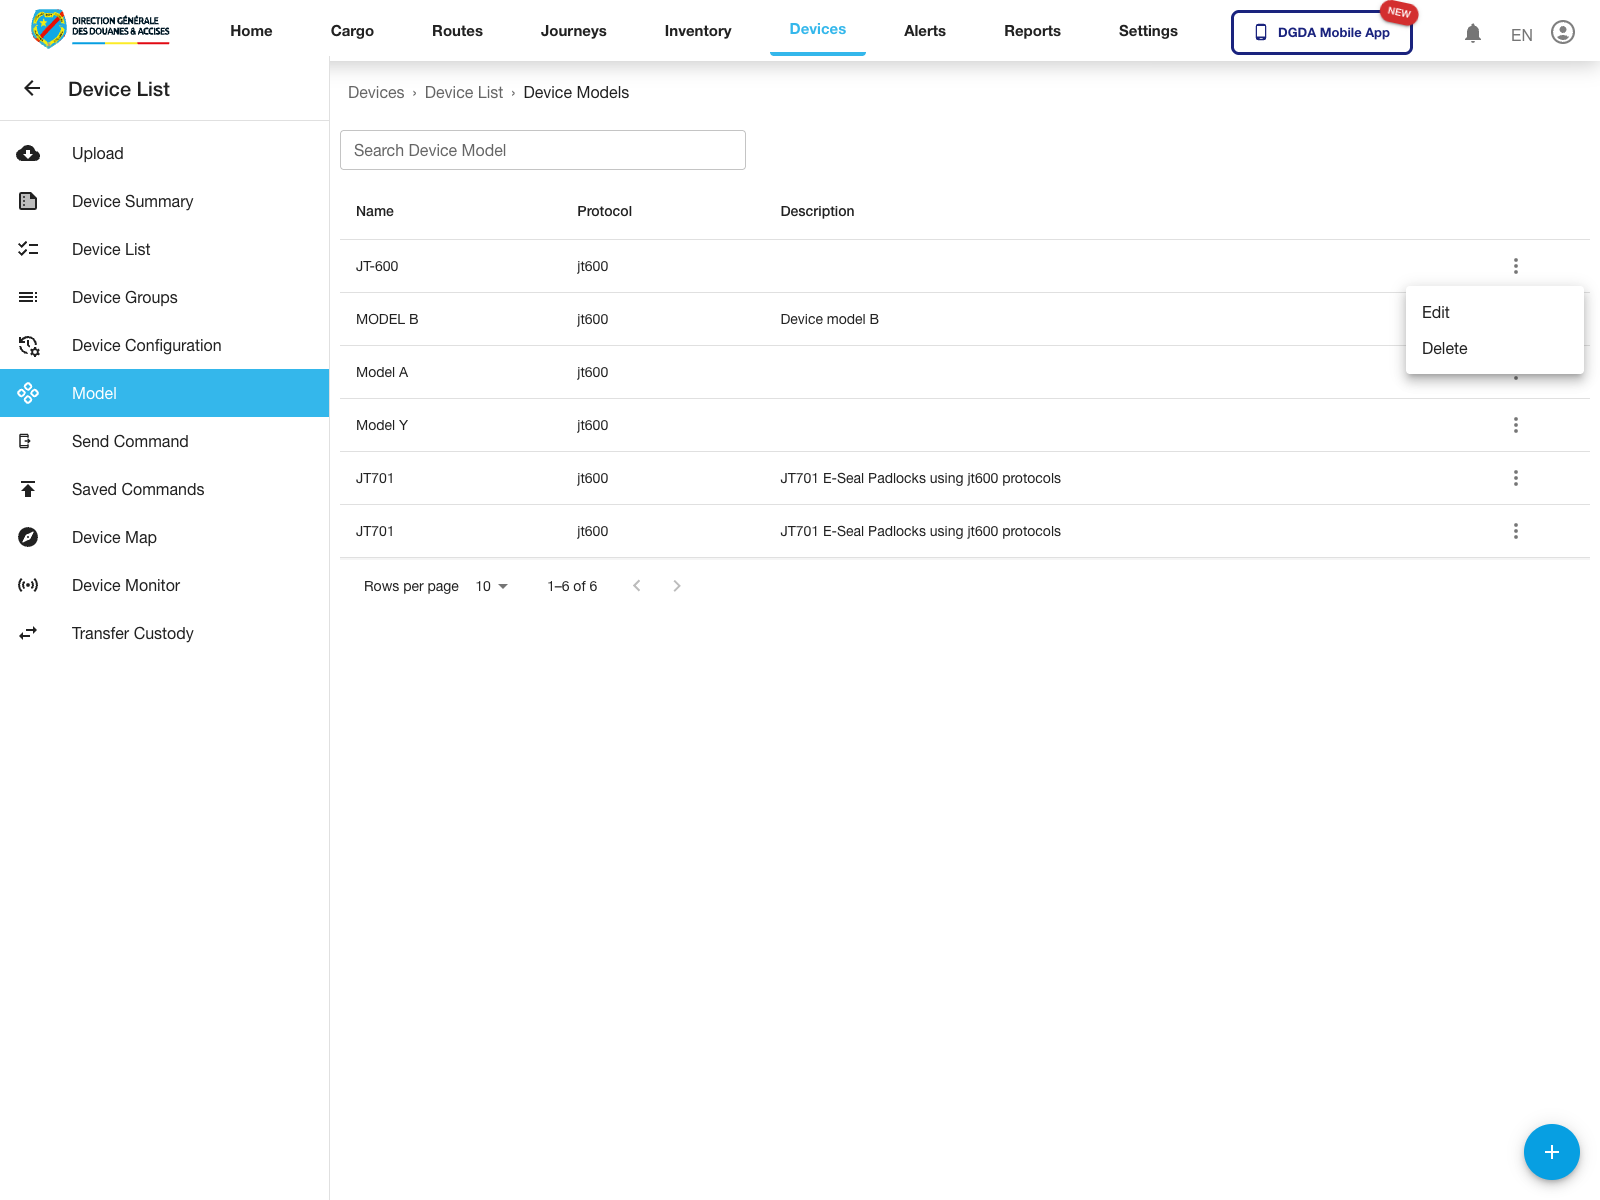
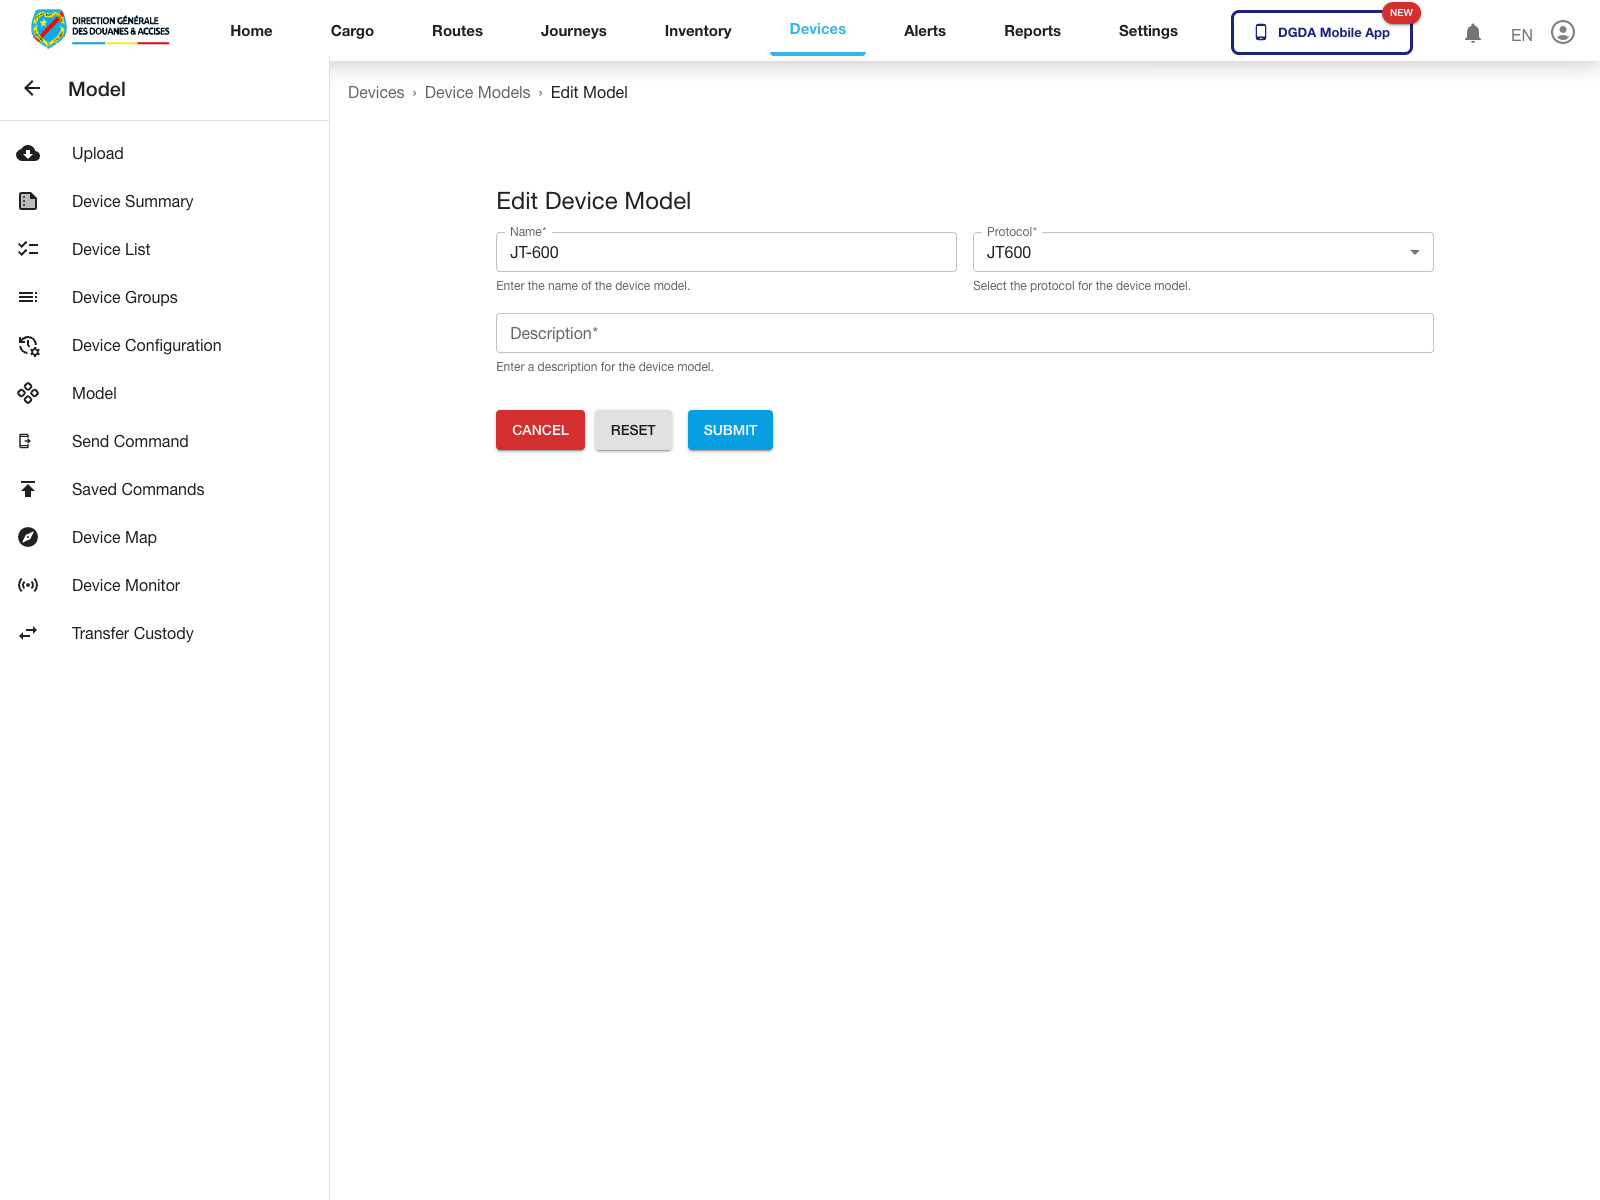
11. Manage Device Models
Purpose: Maintain the model definitions used for device registration and classification.
Routes / context:
/device/add-device-model/device/device-models/device/edit-device-model/:id
Steps:
- Open Add Device Model to create a new model definition.
- Open Device Models to review existing entries.
- Use the row action menu to manage an existing model.
- Select Edit when a model definition needs to be updated.
Expected result: Model creation, model-list review, and model editing are all accessible.
Observed live row actions: Edit and Delete.
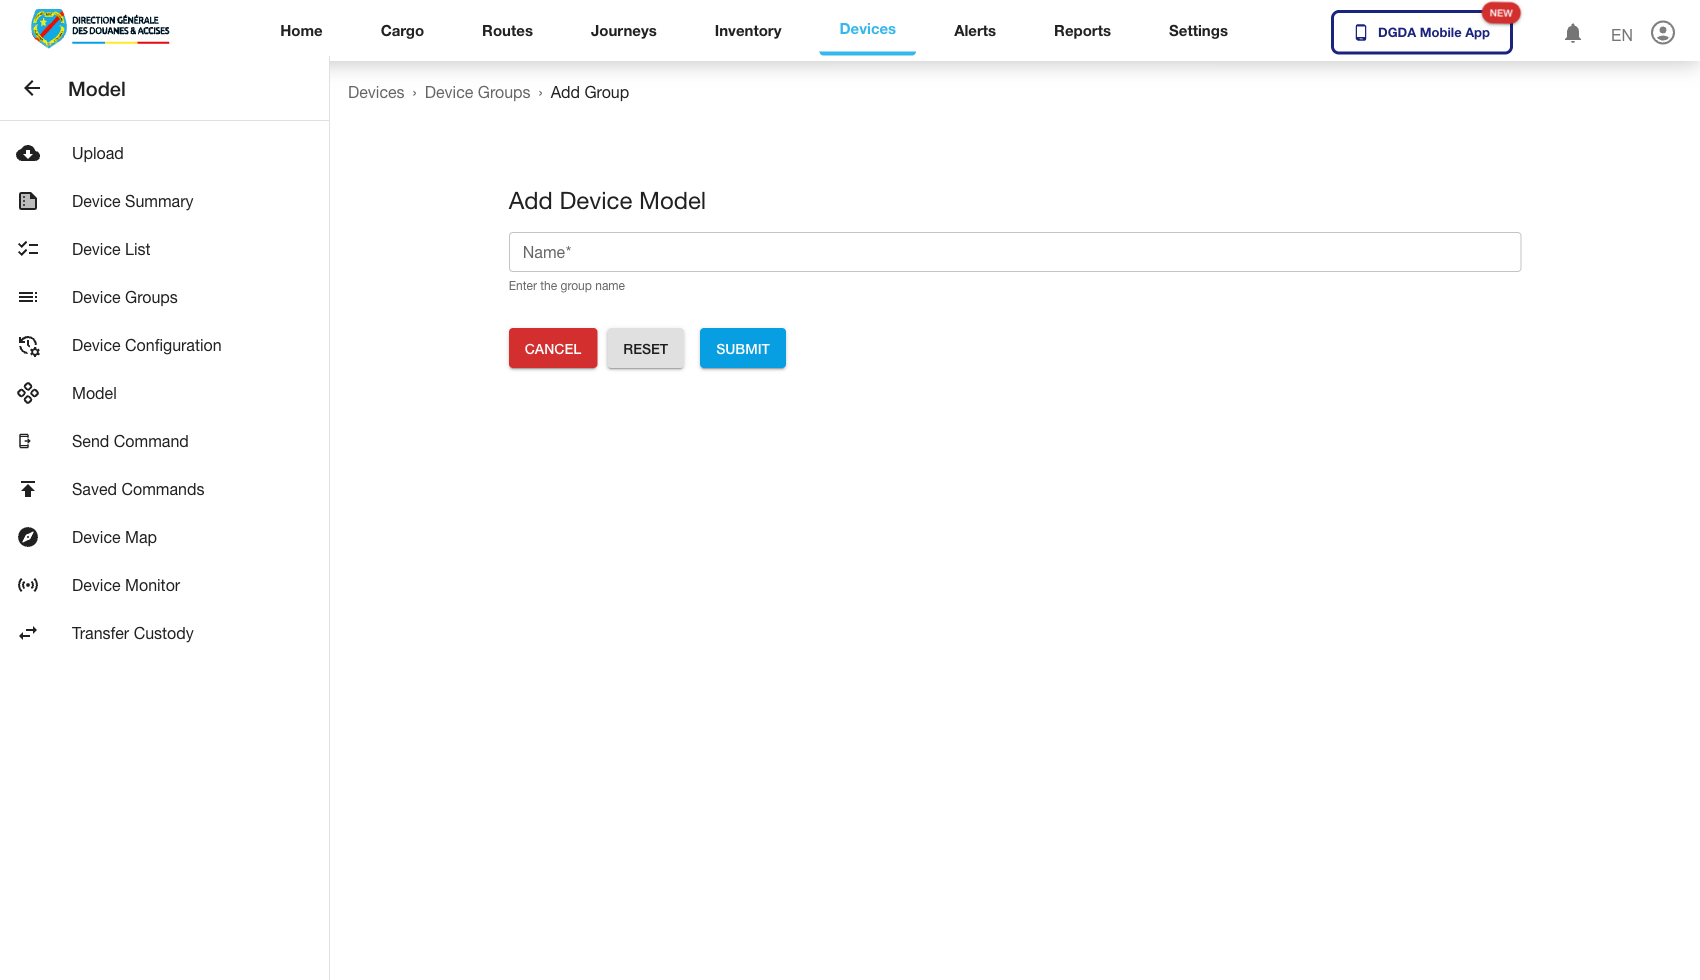
12. Manage Device Groups and Configuration Inventory
Purpose: Maintain reusable group and configuration structures.
Routes / context:
/device/add-device-group/device/device-configurations
Steps:
- Open Add Device Group to create a new grouping record.
- Open Device Configurations to review reusable device configuration entries.
- Confirm both screens load without runtime errors.
Expected result: Group and configuration administration pages are available for operations and setup work.
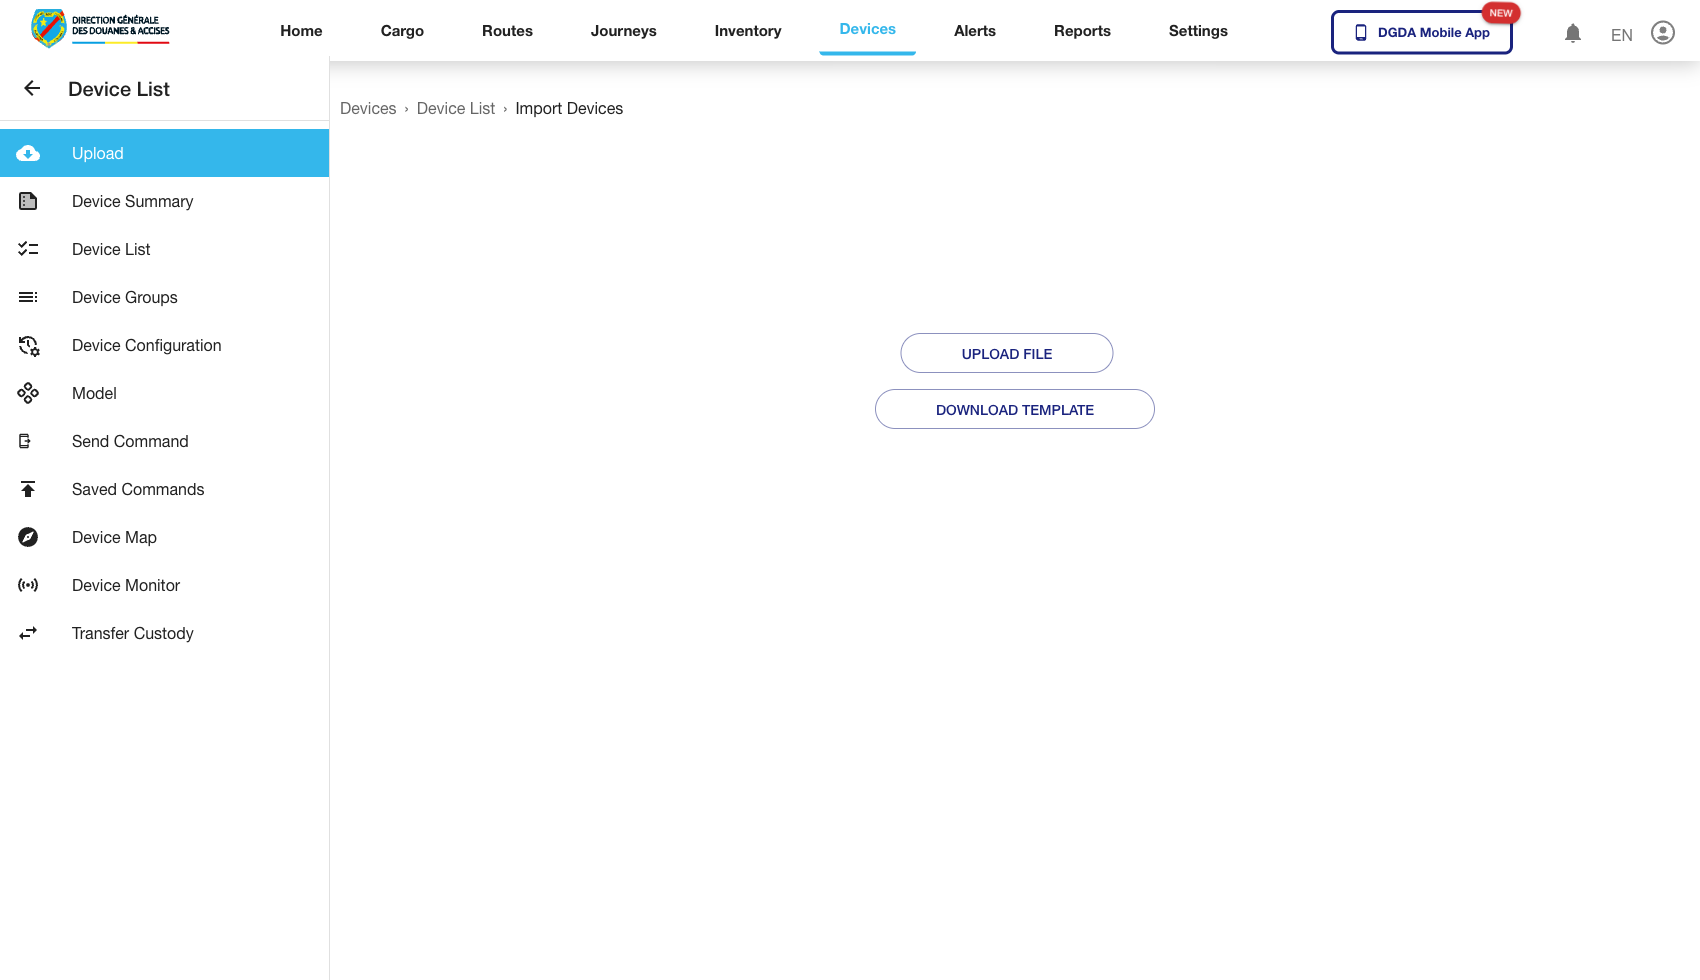
13. Import Devices
Purpose: Load multiple devices through a bulk import flow.
Route / context: /device/import-devices
Steps:
- Open Import Devices.
- Review the import template or file-upload controls.
- Prepare the input file according to the expected format before upload.
Expected result: The import screen loads and is ready for controlled bulk onboarding.
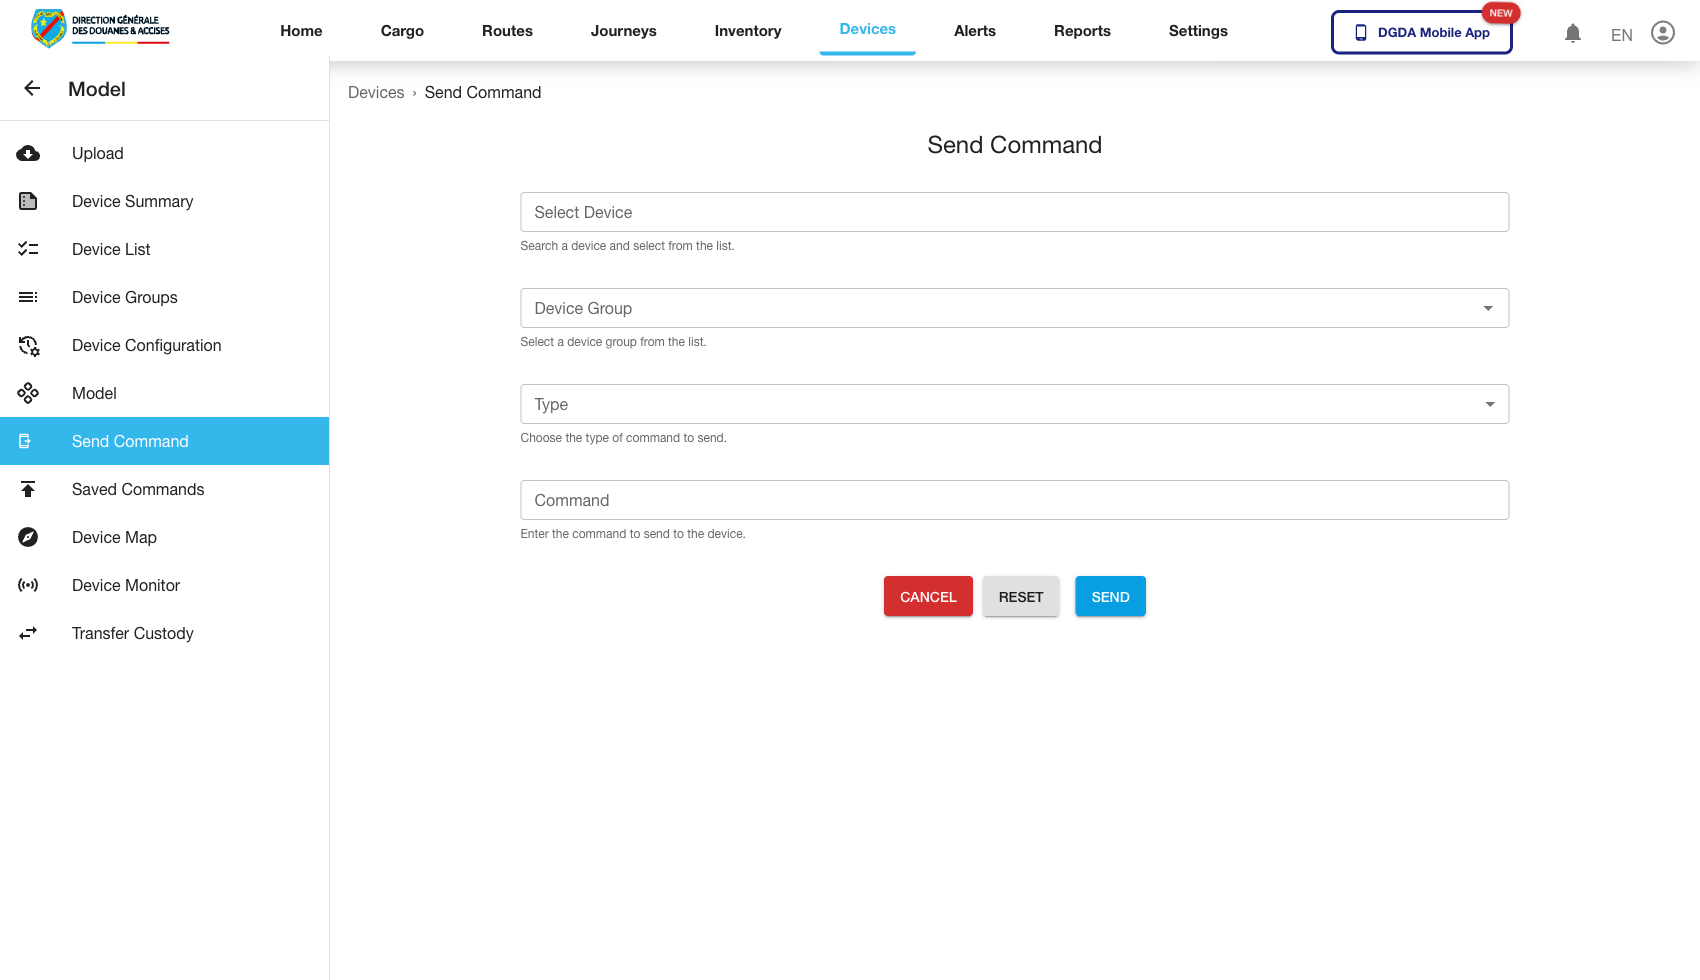
14. Send a Device Command
Purpose: Trigger an operational command against a target device.
Route / context: /device/send-command
Steps:
- Open Send Command.
- Select the target device or device group.
- Choose the command type.
- Complete the command input.
- Submit the command when ready.
Expected result: The command form loads and supports a controlled command-submission flow.
Observed live command types in the selector: Set Trusted Number, Stop Sending Positions, and Open Lock.
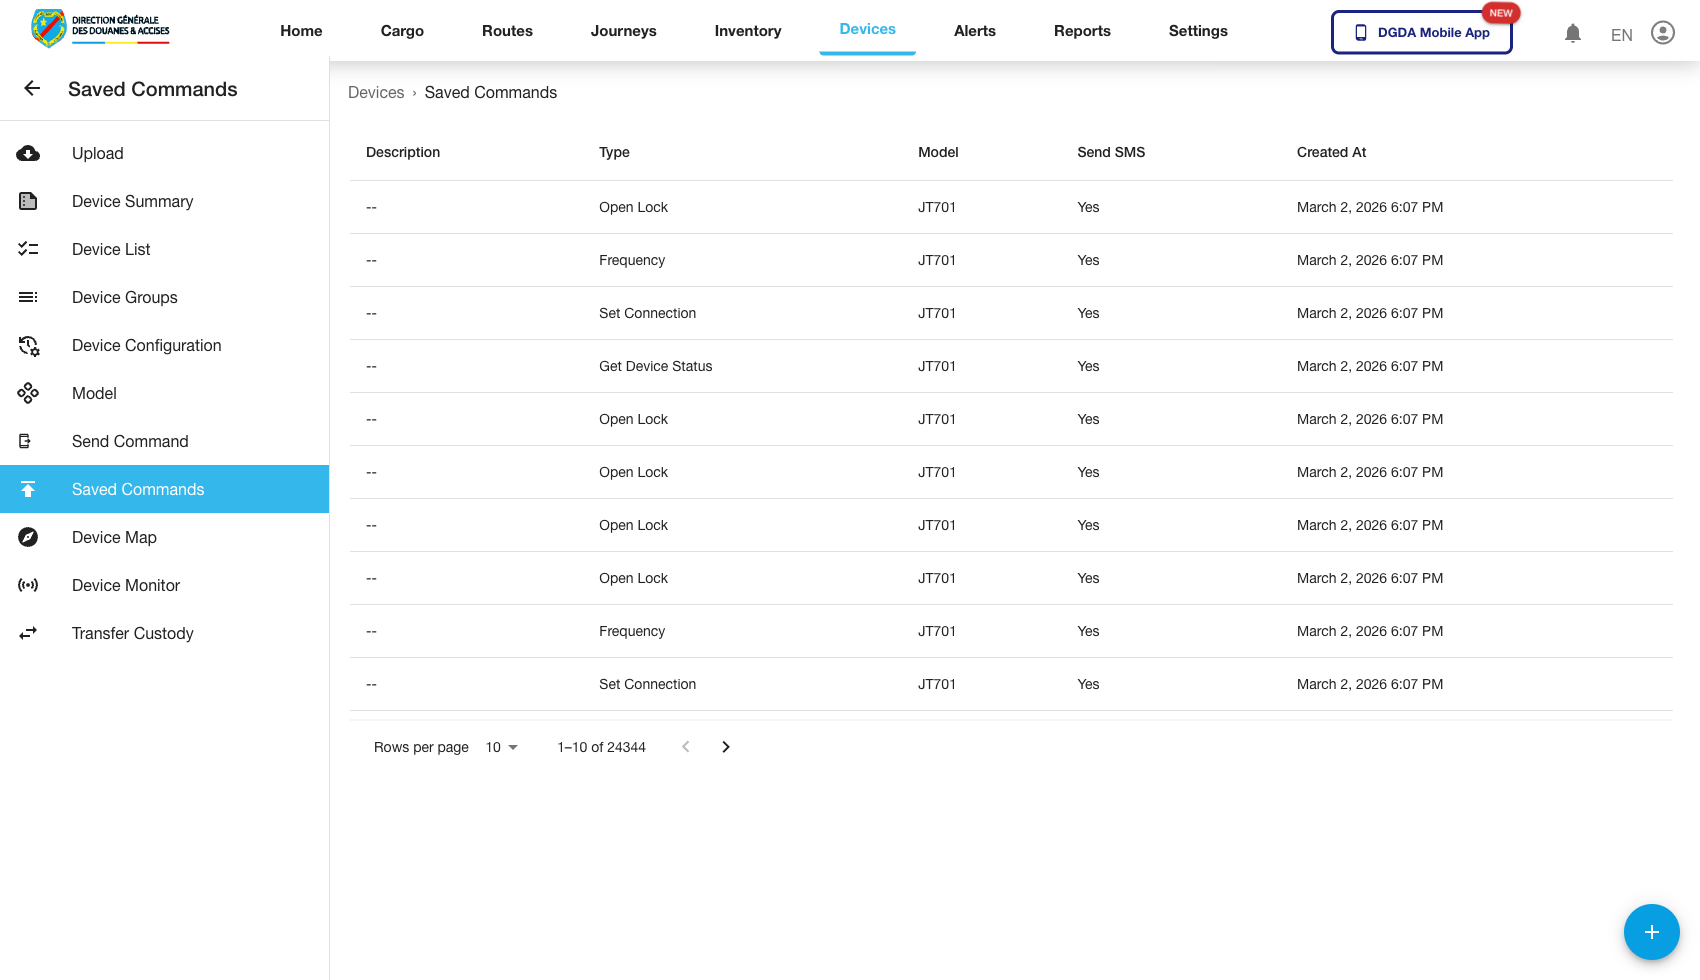
15. Review Command History
Purpose: Check previously issued device commands and their outcomes.
Route / context: /device/commands
Steps:
- Open Commands.
- Review command entries and their states.
- Use this page when confirming whether a command was already issued or completed.
Expected result: Historical command activity is visible and traceable.
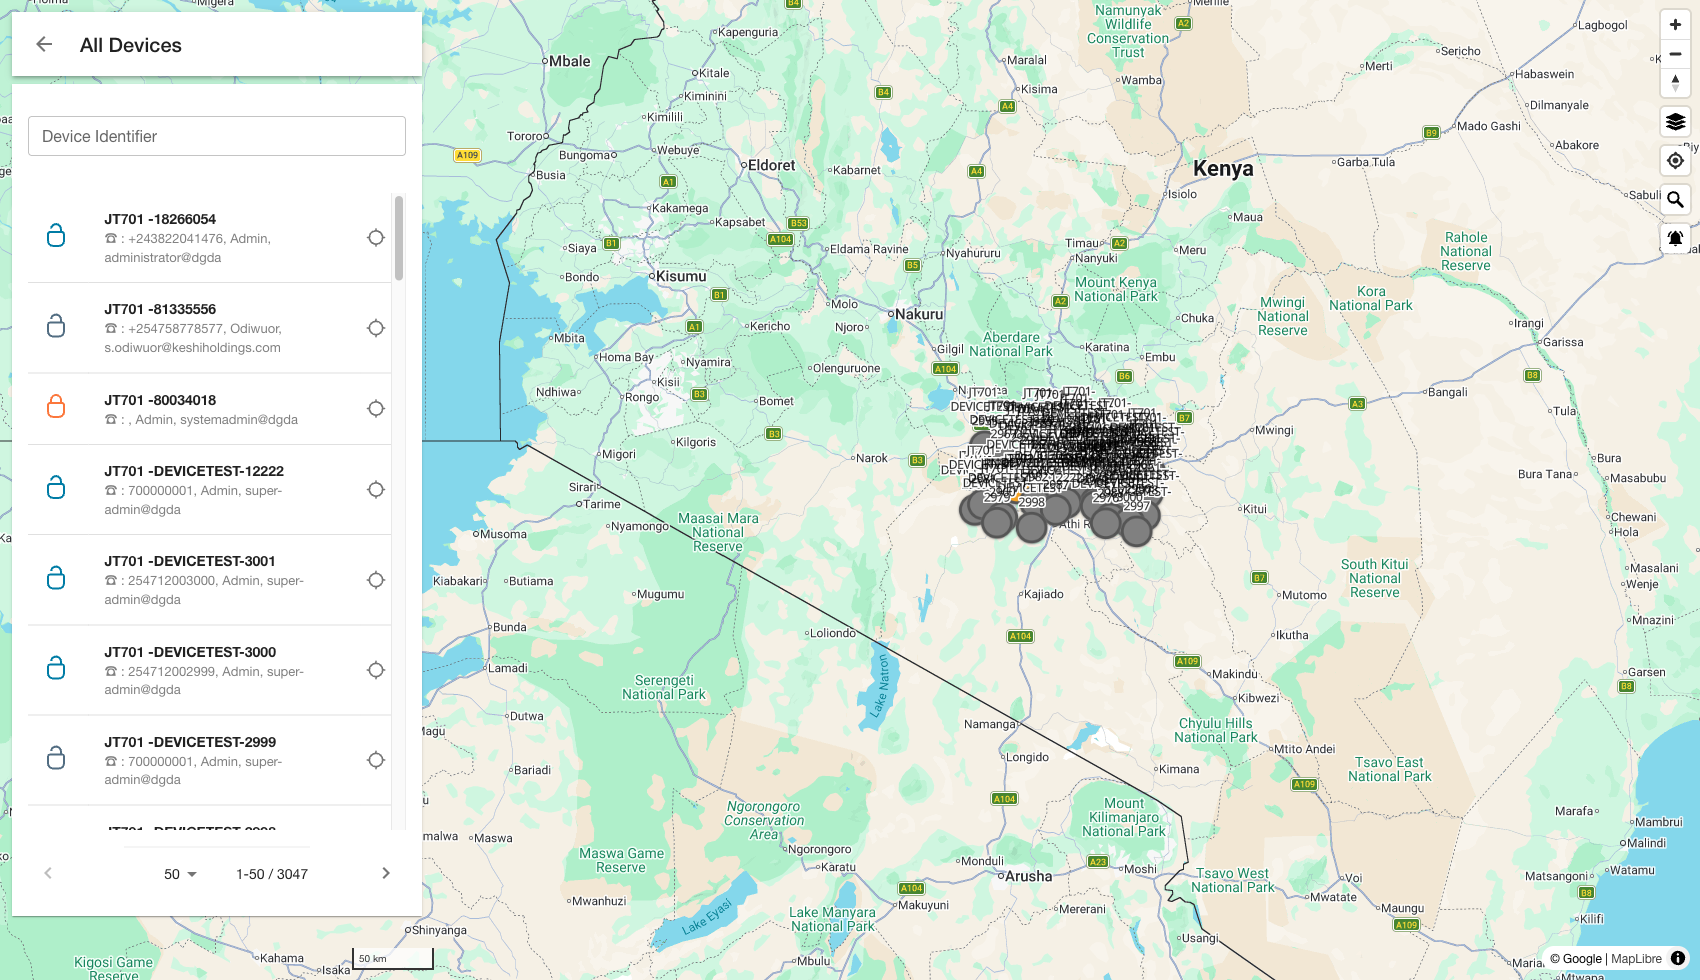
16. Review the Device Map
Purpose: Observe device location information spatially.
Route / context: /device/device-map
Steps:
- Open Device Map.
- Confirm the map canvas loads.
- Review device markers or other map overlays.
Expected result: The map view renders successfully and exposes location-oriented device context.
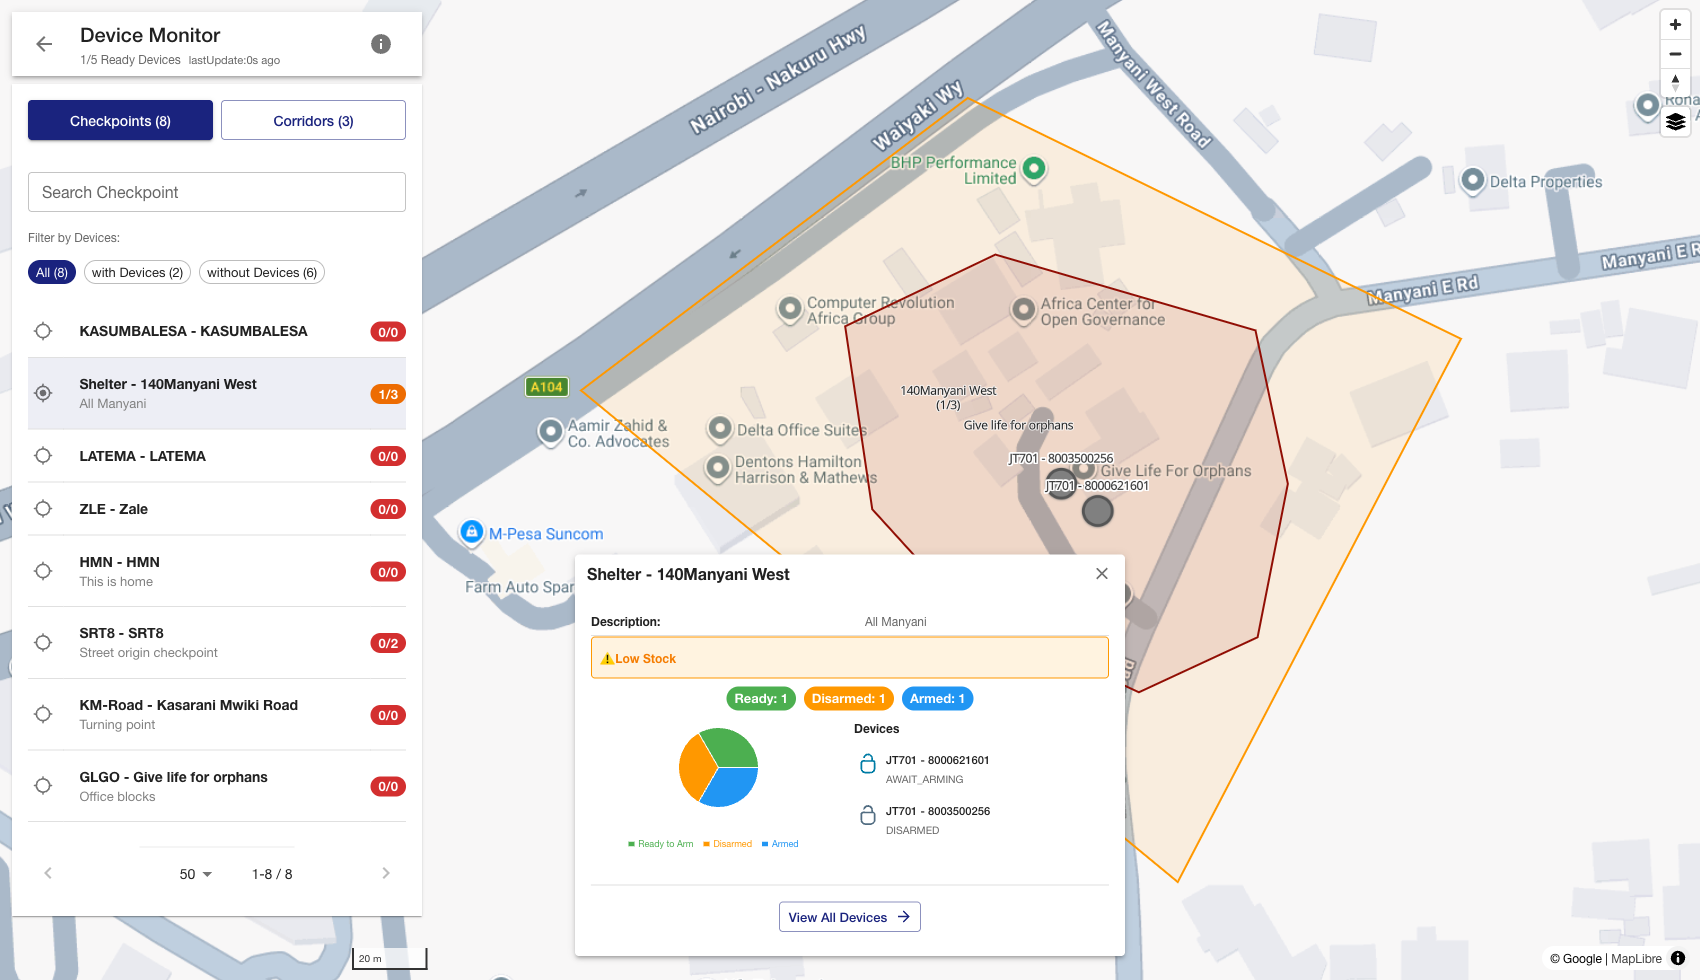
17. Review Device Monitor
Purpose: Inspect device telemetry or state from a dedicated monitoring view.
Route / context: /device/device-monitor
Steps:
- Open Device Monitor.
- Confirm monitoring information is visible.
- Use the page to assess current device state and recent activity.
Expected result: The monitoring workspace loads and provides live or near-live device information.
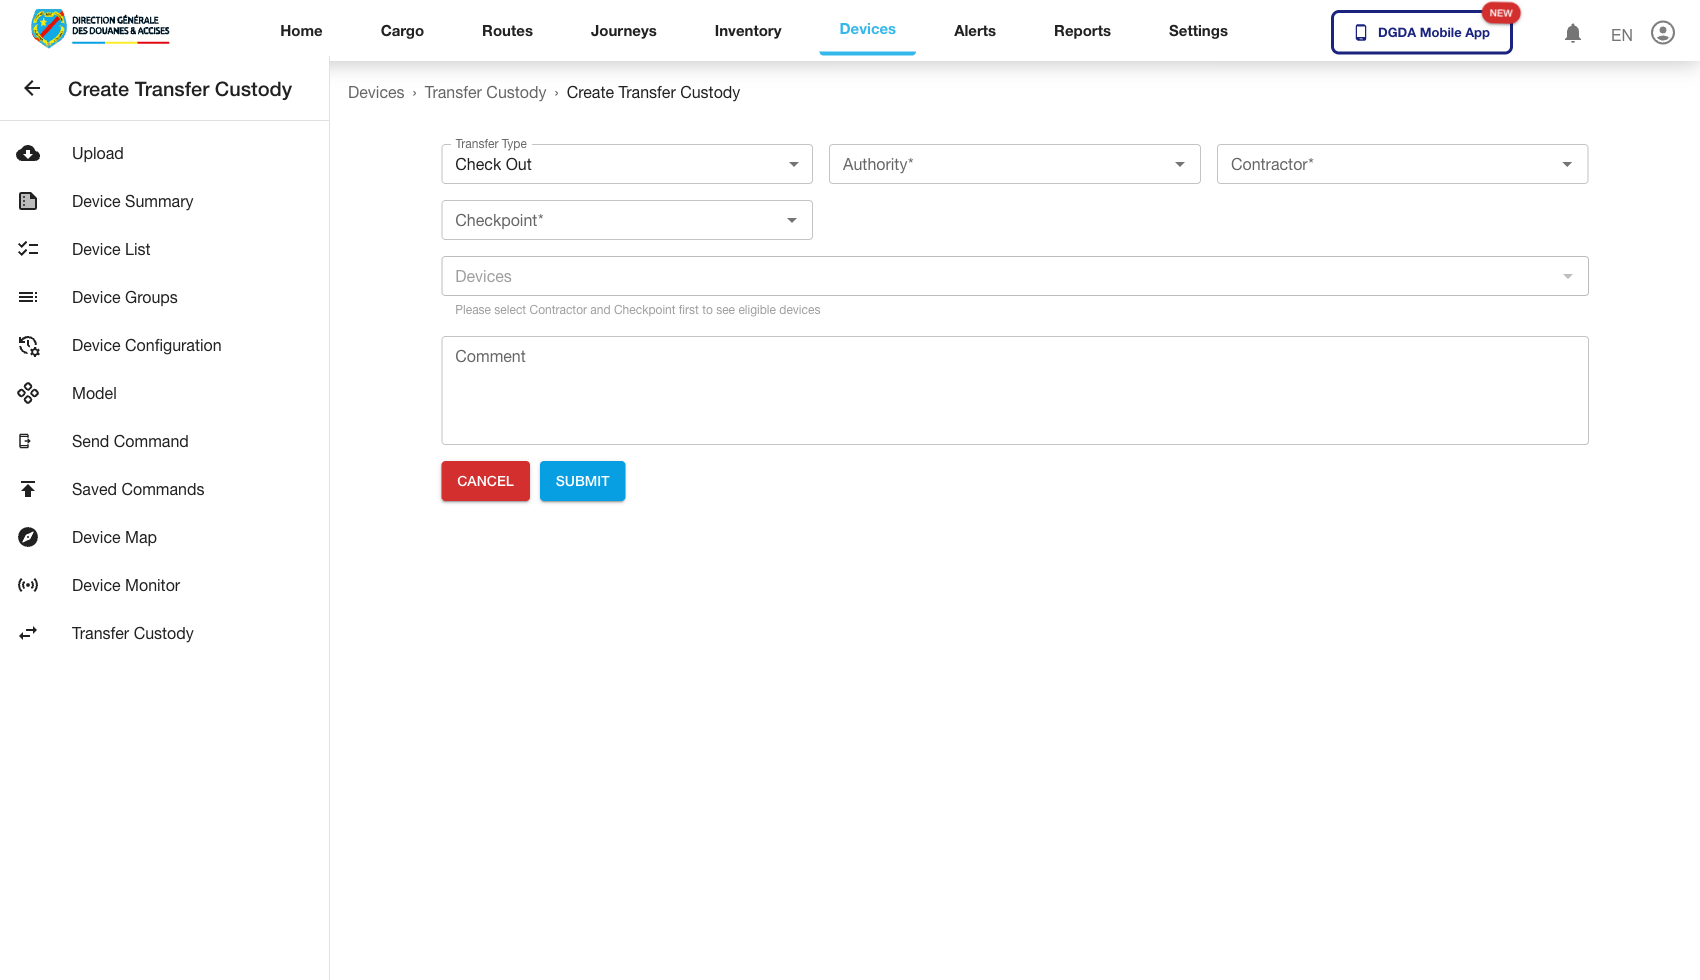
18. Review Transfer Custody
Purpose: Track or manage device custody movement between operational owners.
Routes / context:
/device/transfer-custody/device/add-transfer-custody
Steps:
- Open Transfer Custody to review current custody-transfer records.
- Open Add Transfer Custody to initiate a new transfer.
- Confirm the list and creation screens both load correctly.
Expected result: Custody-transfer administration is available for controlled device handover workflows.

19. Remaining Validated Gaps
The following device workflows still need dedicated capture before they should be documented as full completion procedures:
- delete device to completion
- request repair to completion
- mark returned to completion
- mark for maintenance to completion
- delete device configuration to completion
- delete device model to completion
- distinct disarm or switch-off flows, if they are enabled for this environment